Download The Seeding Guide
Download Now!
Our Story
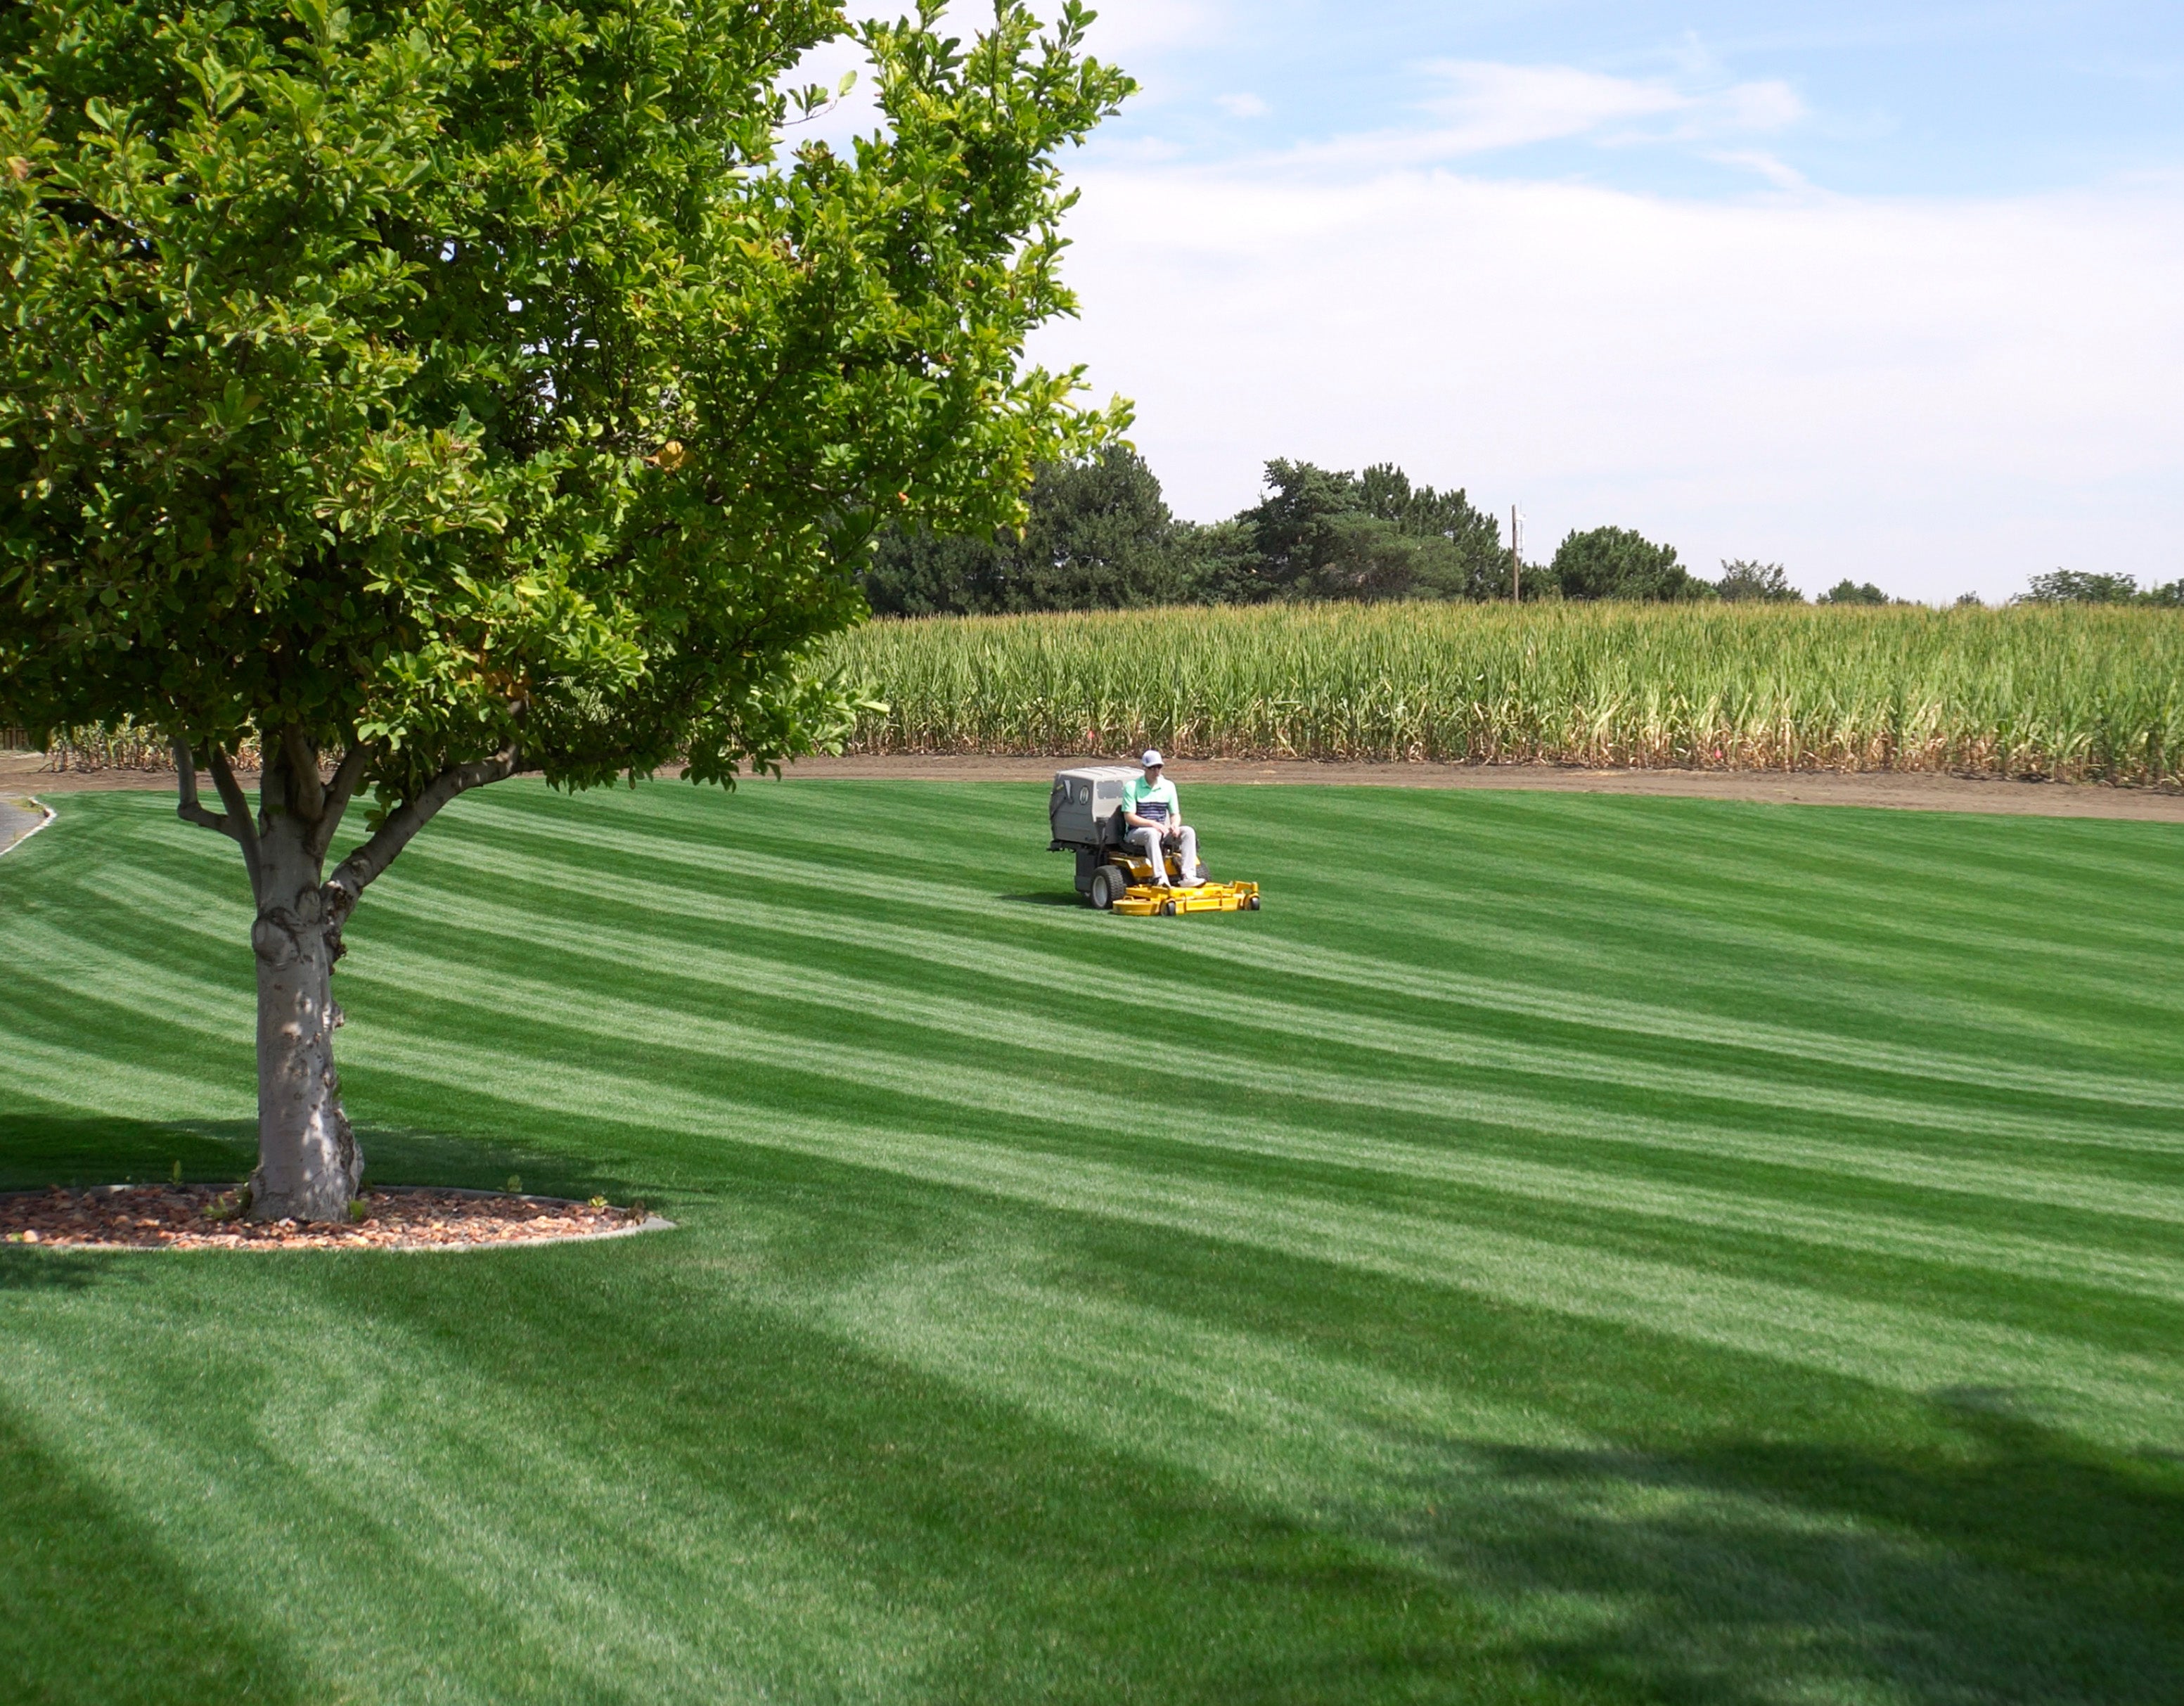
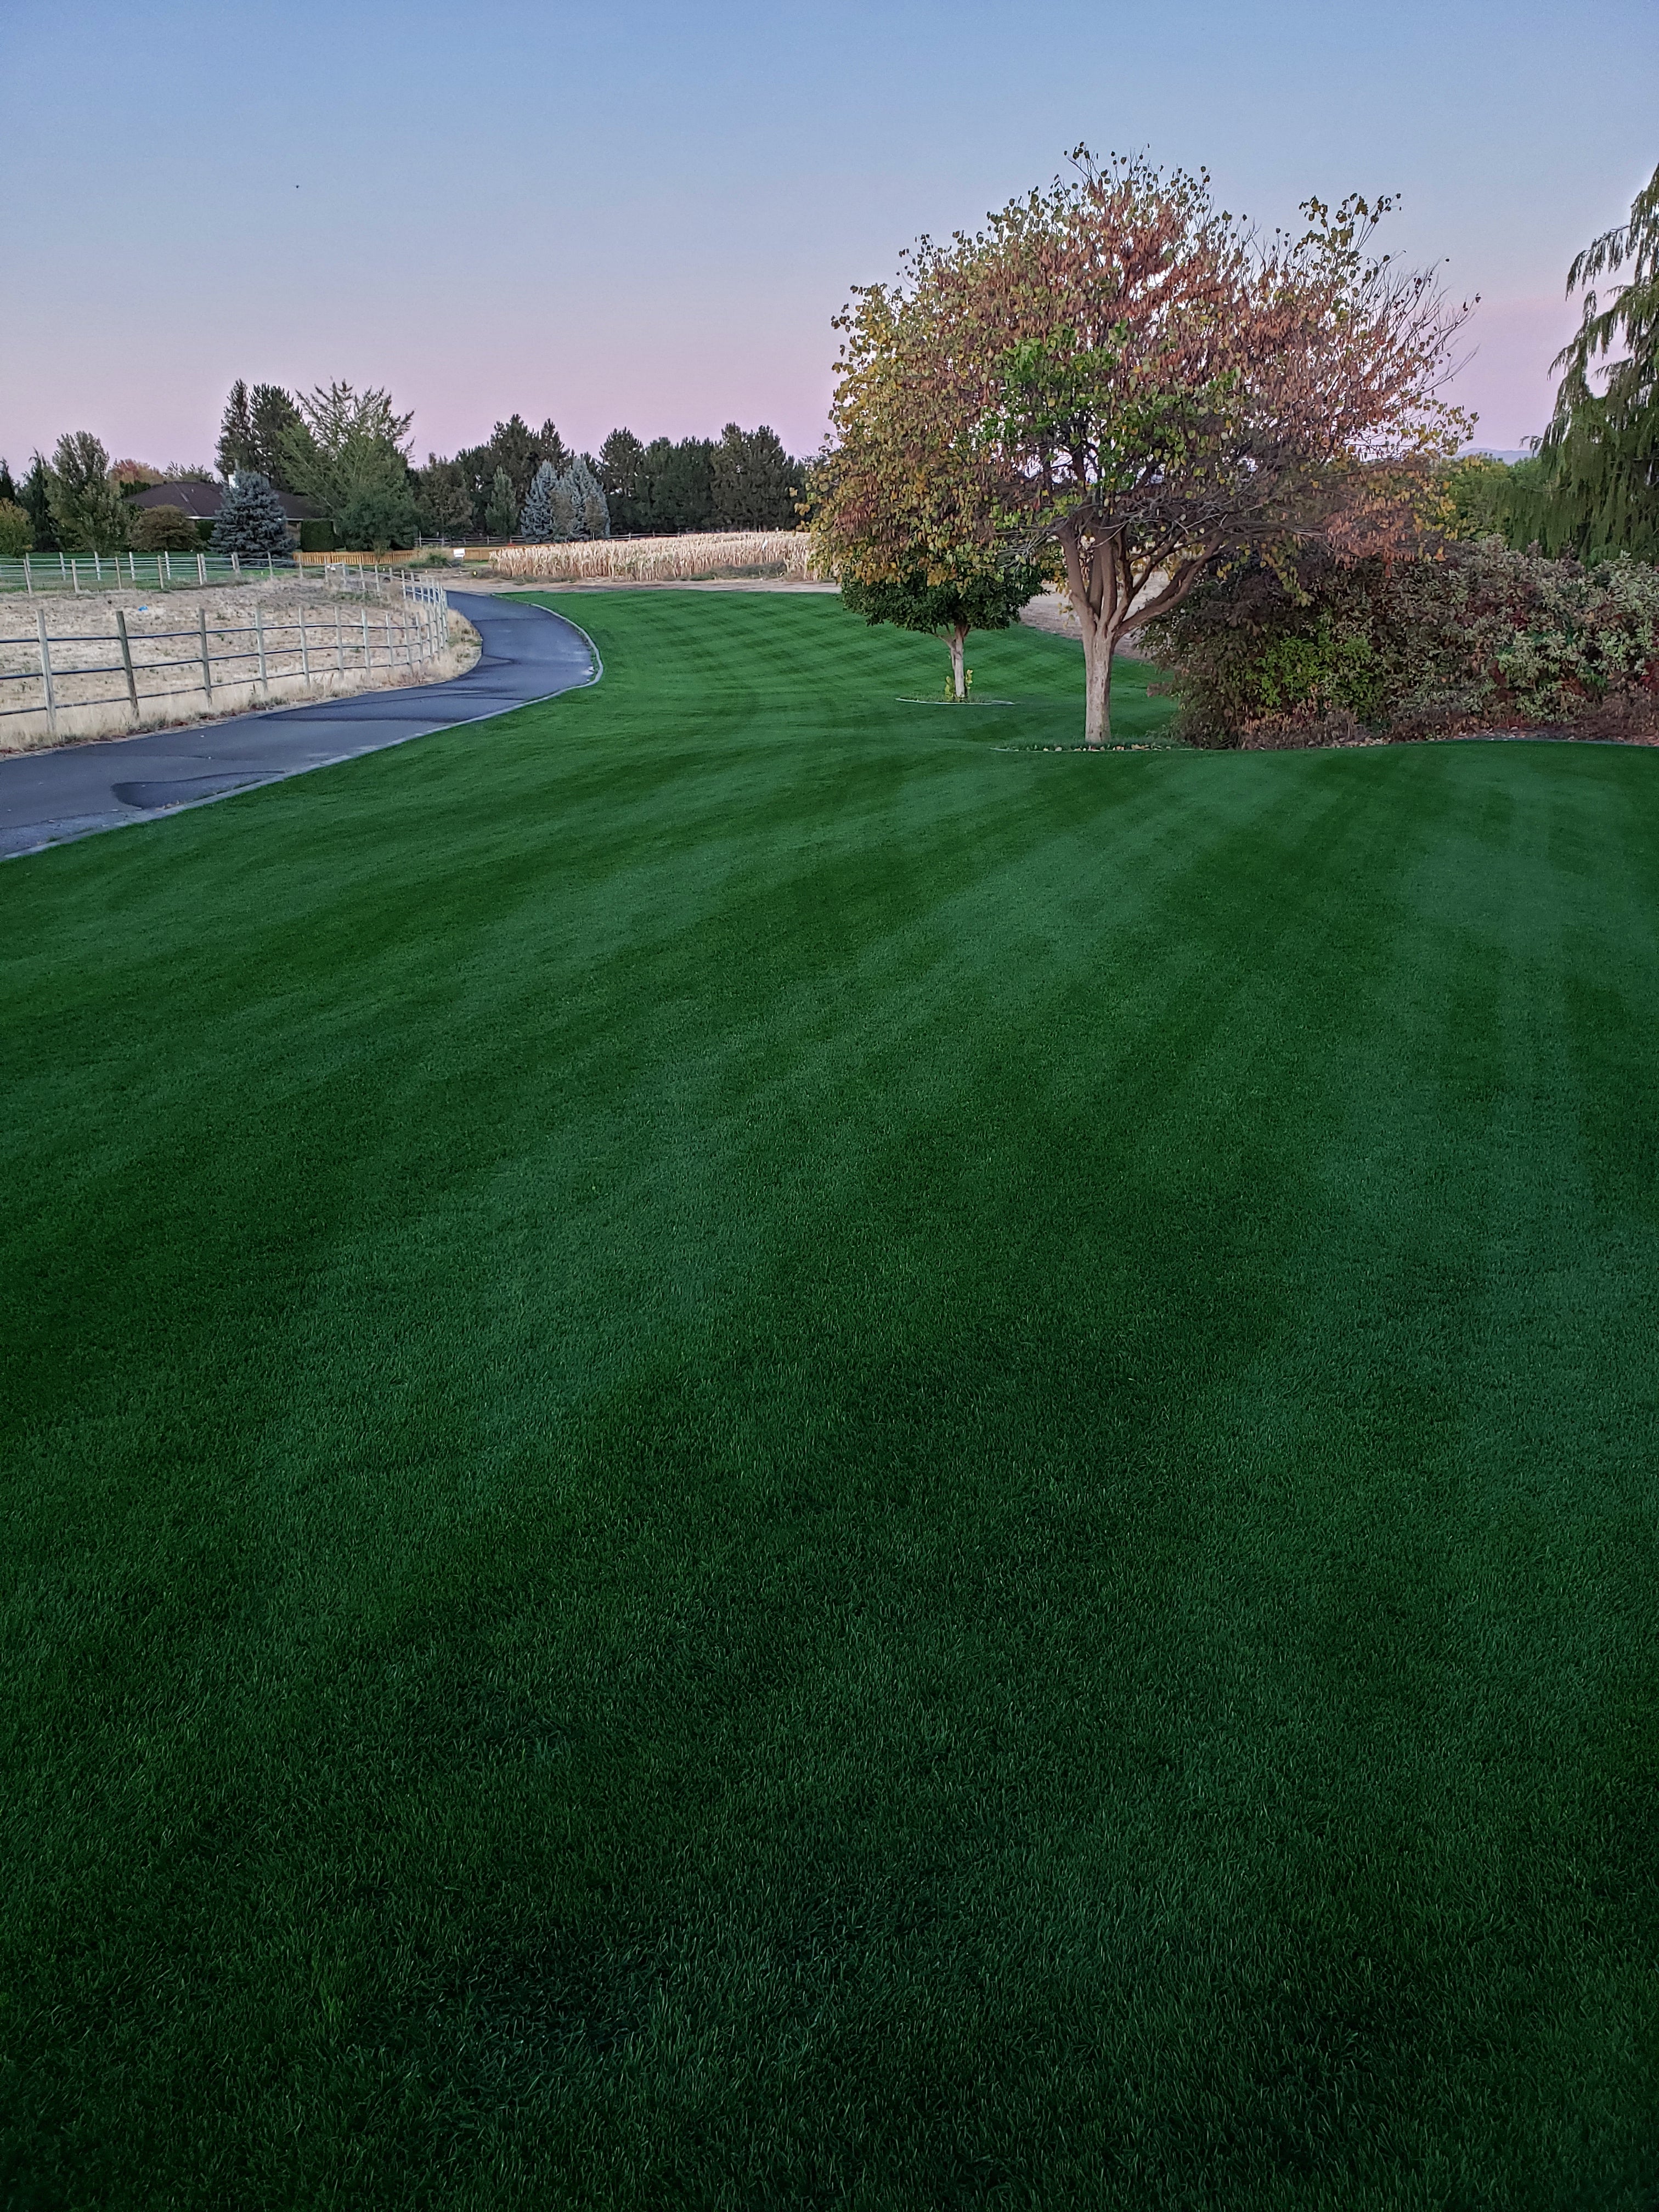
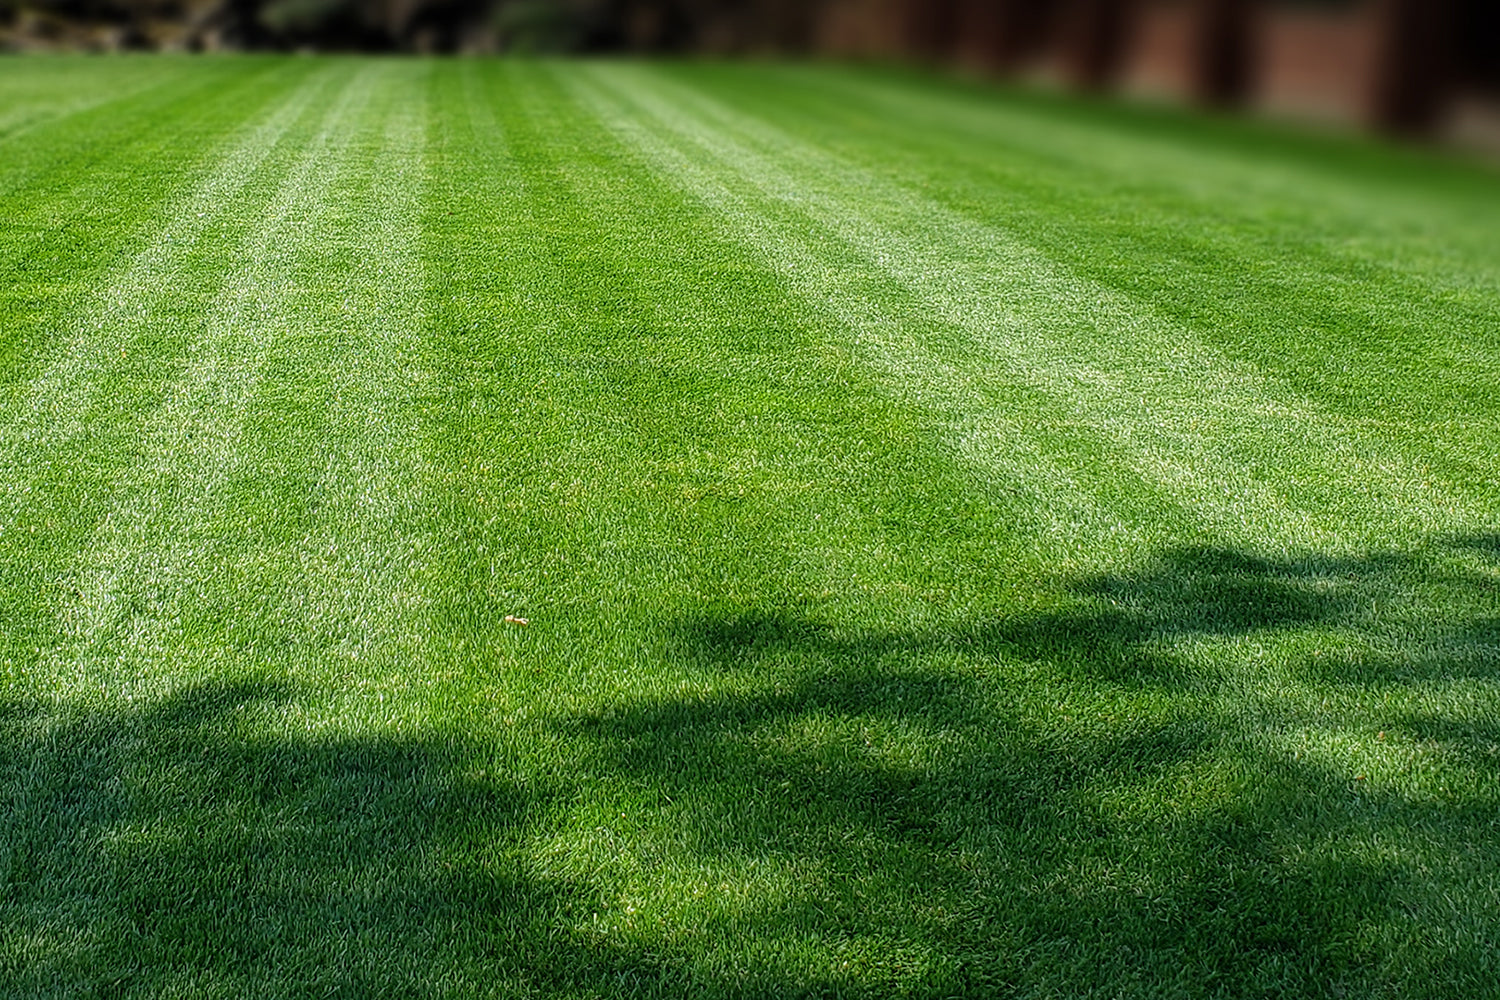
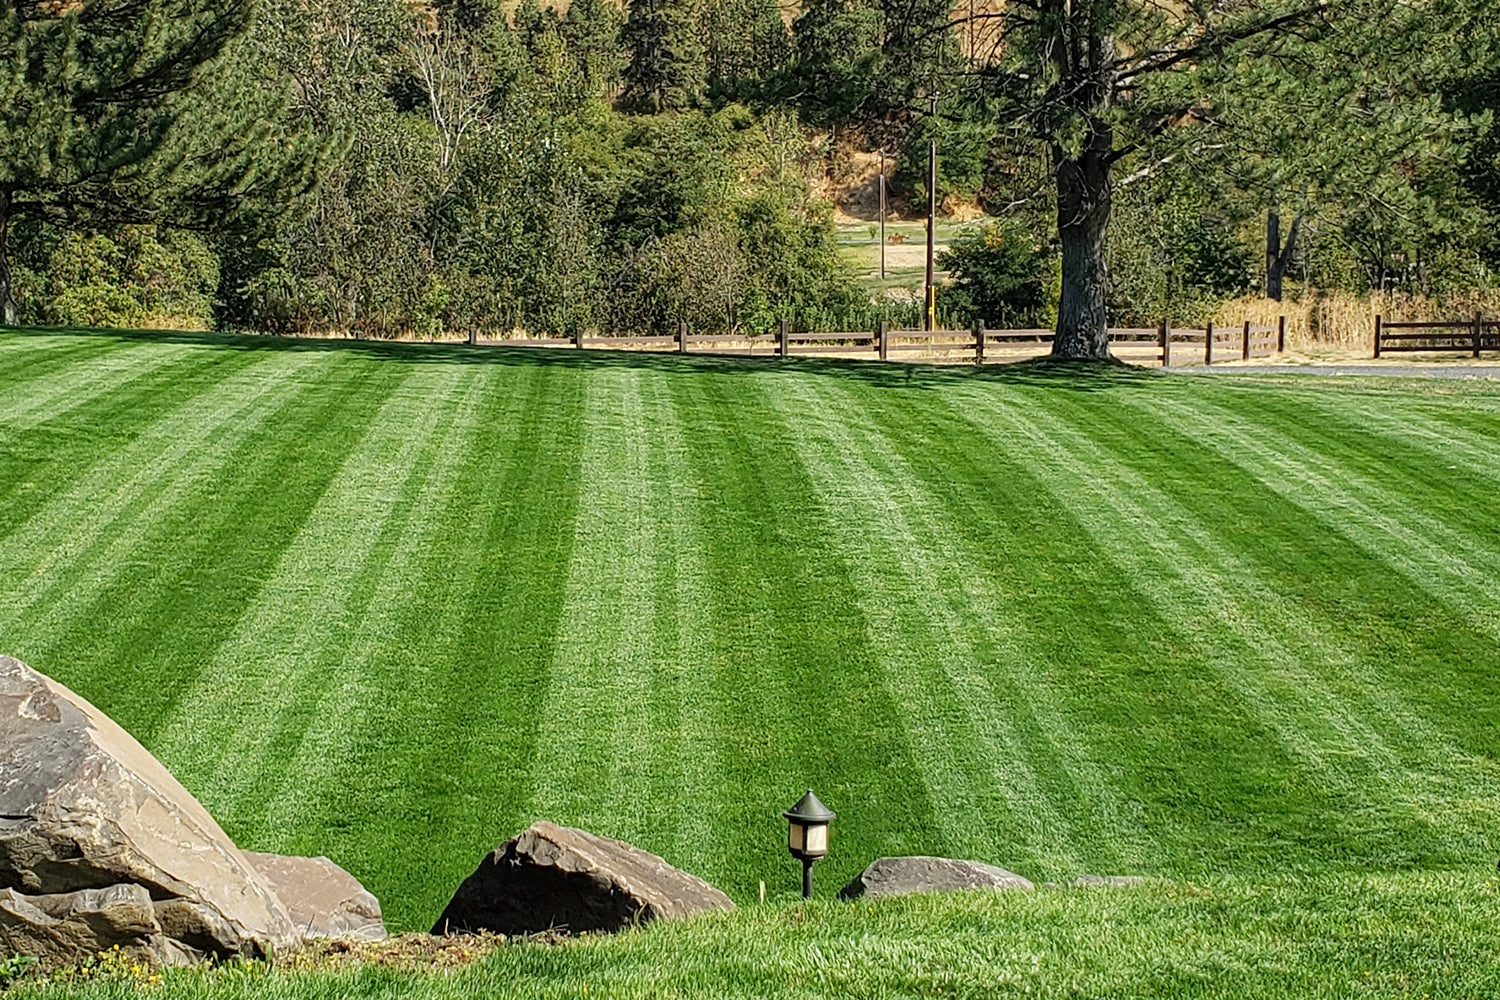
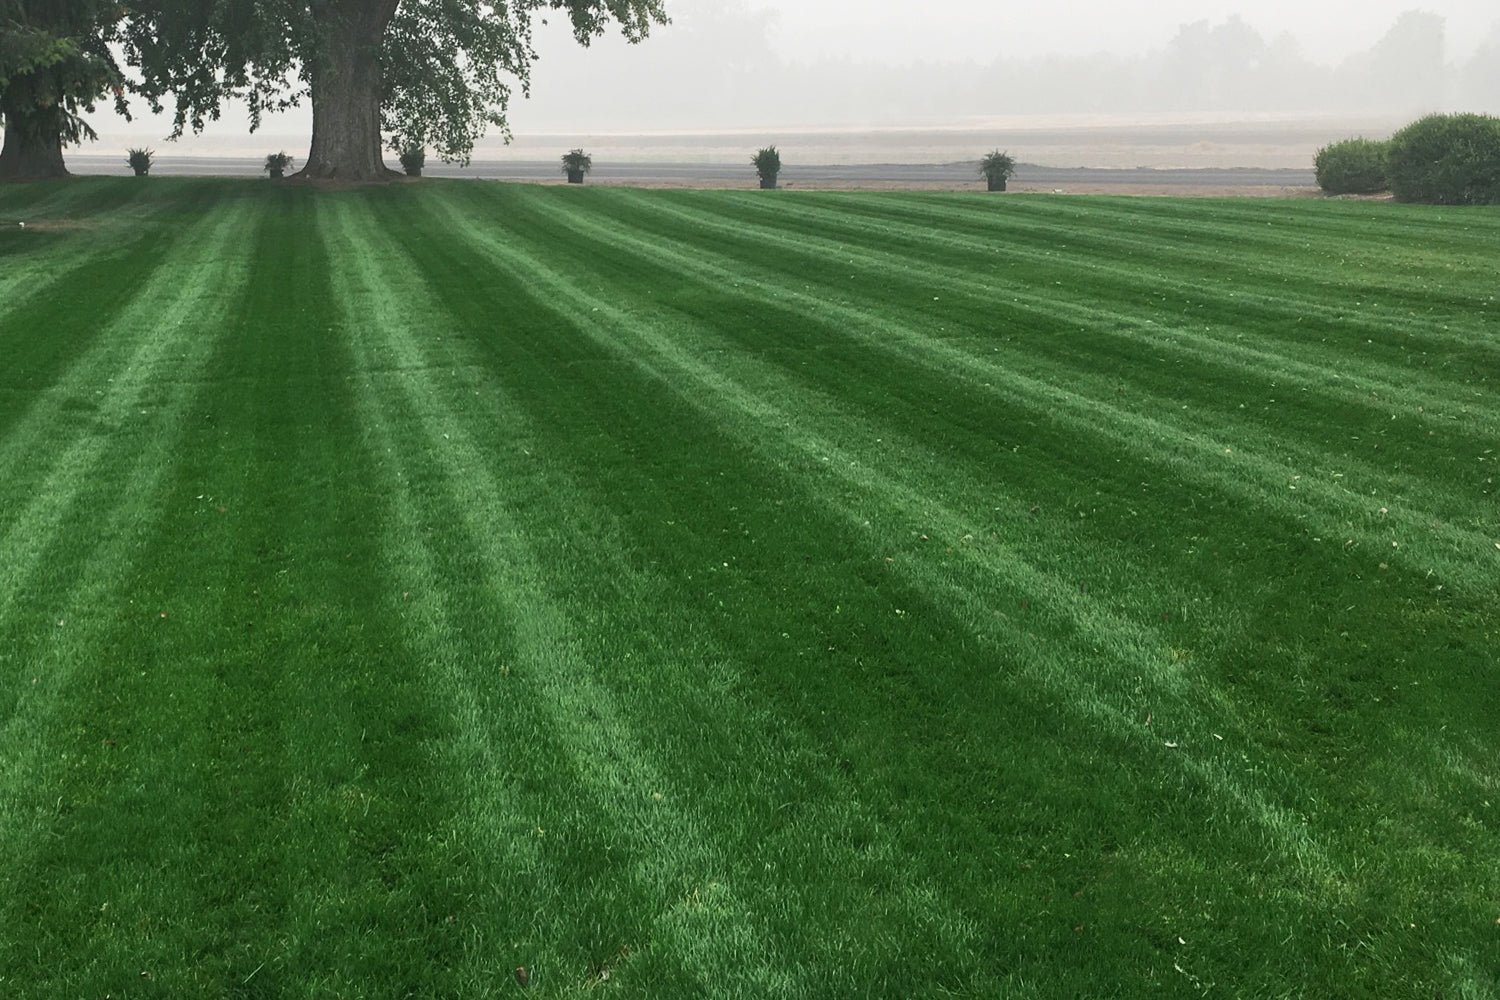
Over the past 6+ the MySoil Team has used the Premium Double Dark Green (PDDG) line of grass seed for new lawns, overseeding, and every seeding project in-between.
We have selected the best grass seed genetics, typically only used by golf courses and sports fields, to bring you the darkest green, most disease tolerant, and finest leaf texture grasses! We have referred friends & family to this blend with unparalleled results, a rich, thick, weed-free, dark green lawn that is the talk of the neighborhood (or even the town). We are excited to share these products with the DIY and professional landscape community and feel PDDG is perfect for anyone looking for a premium cool-season & transition zone seed for a new lawn or to convert an old lawn to new varieties.

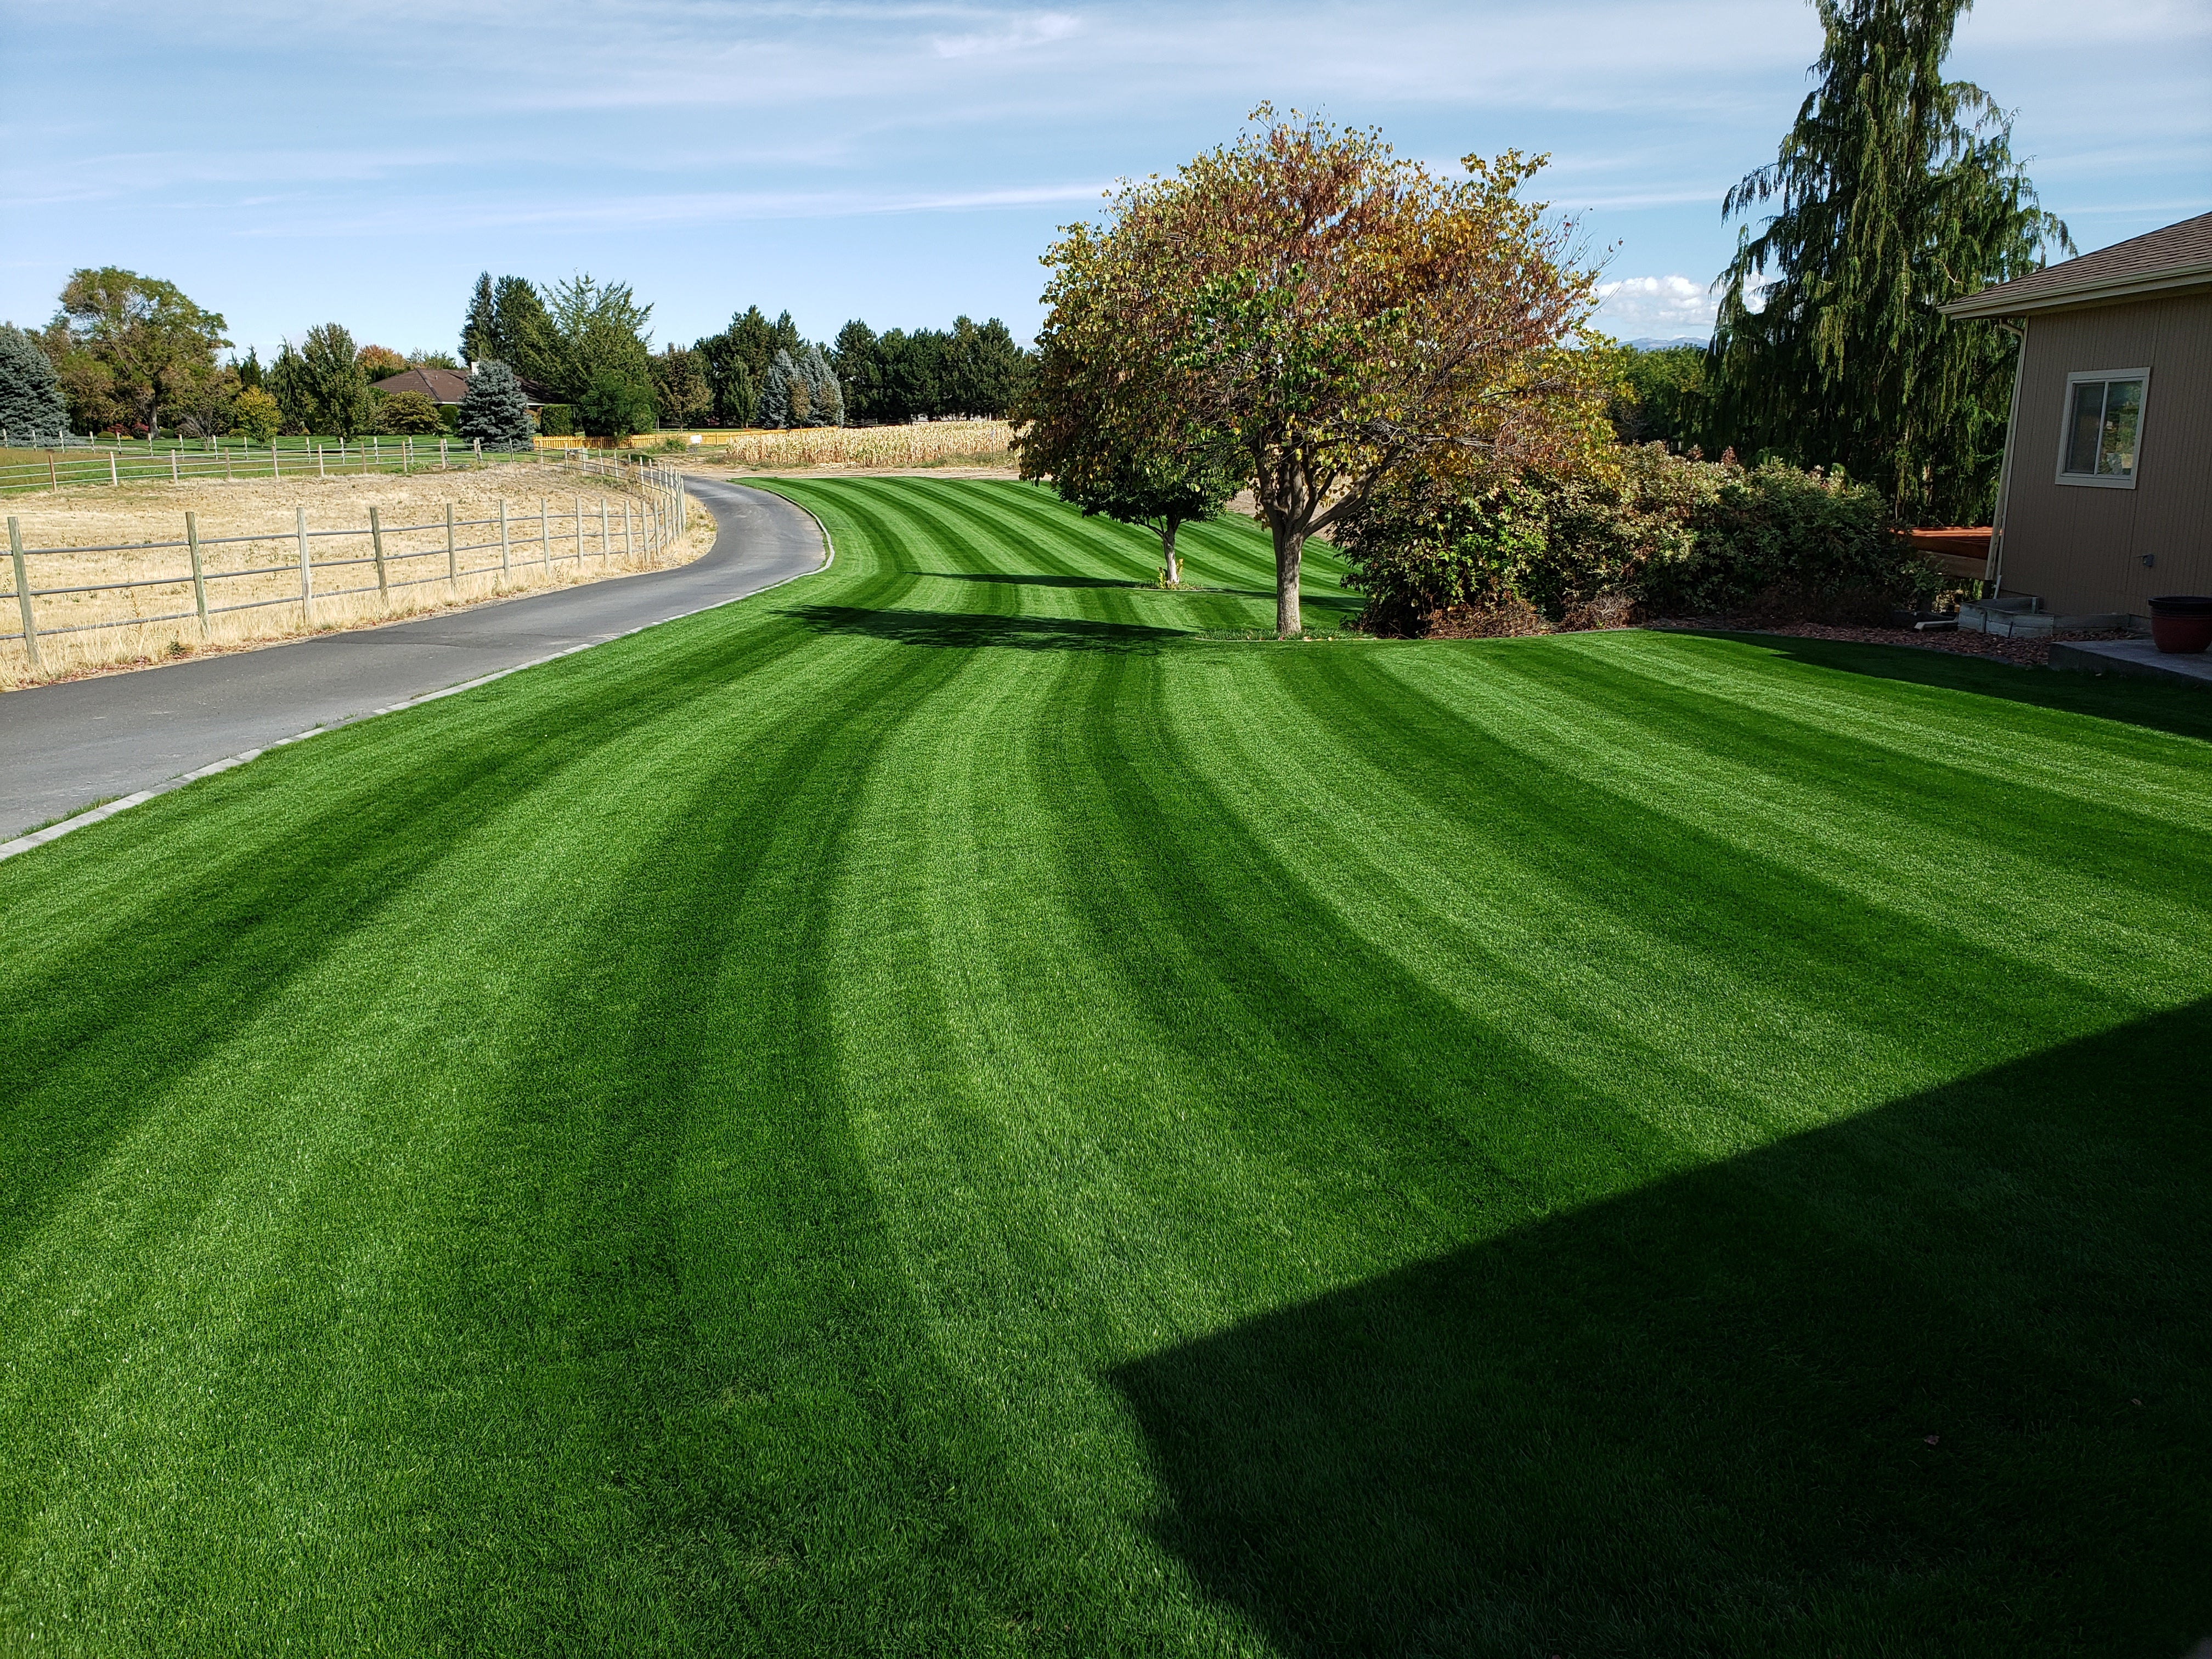


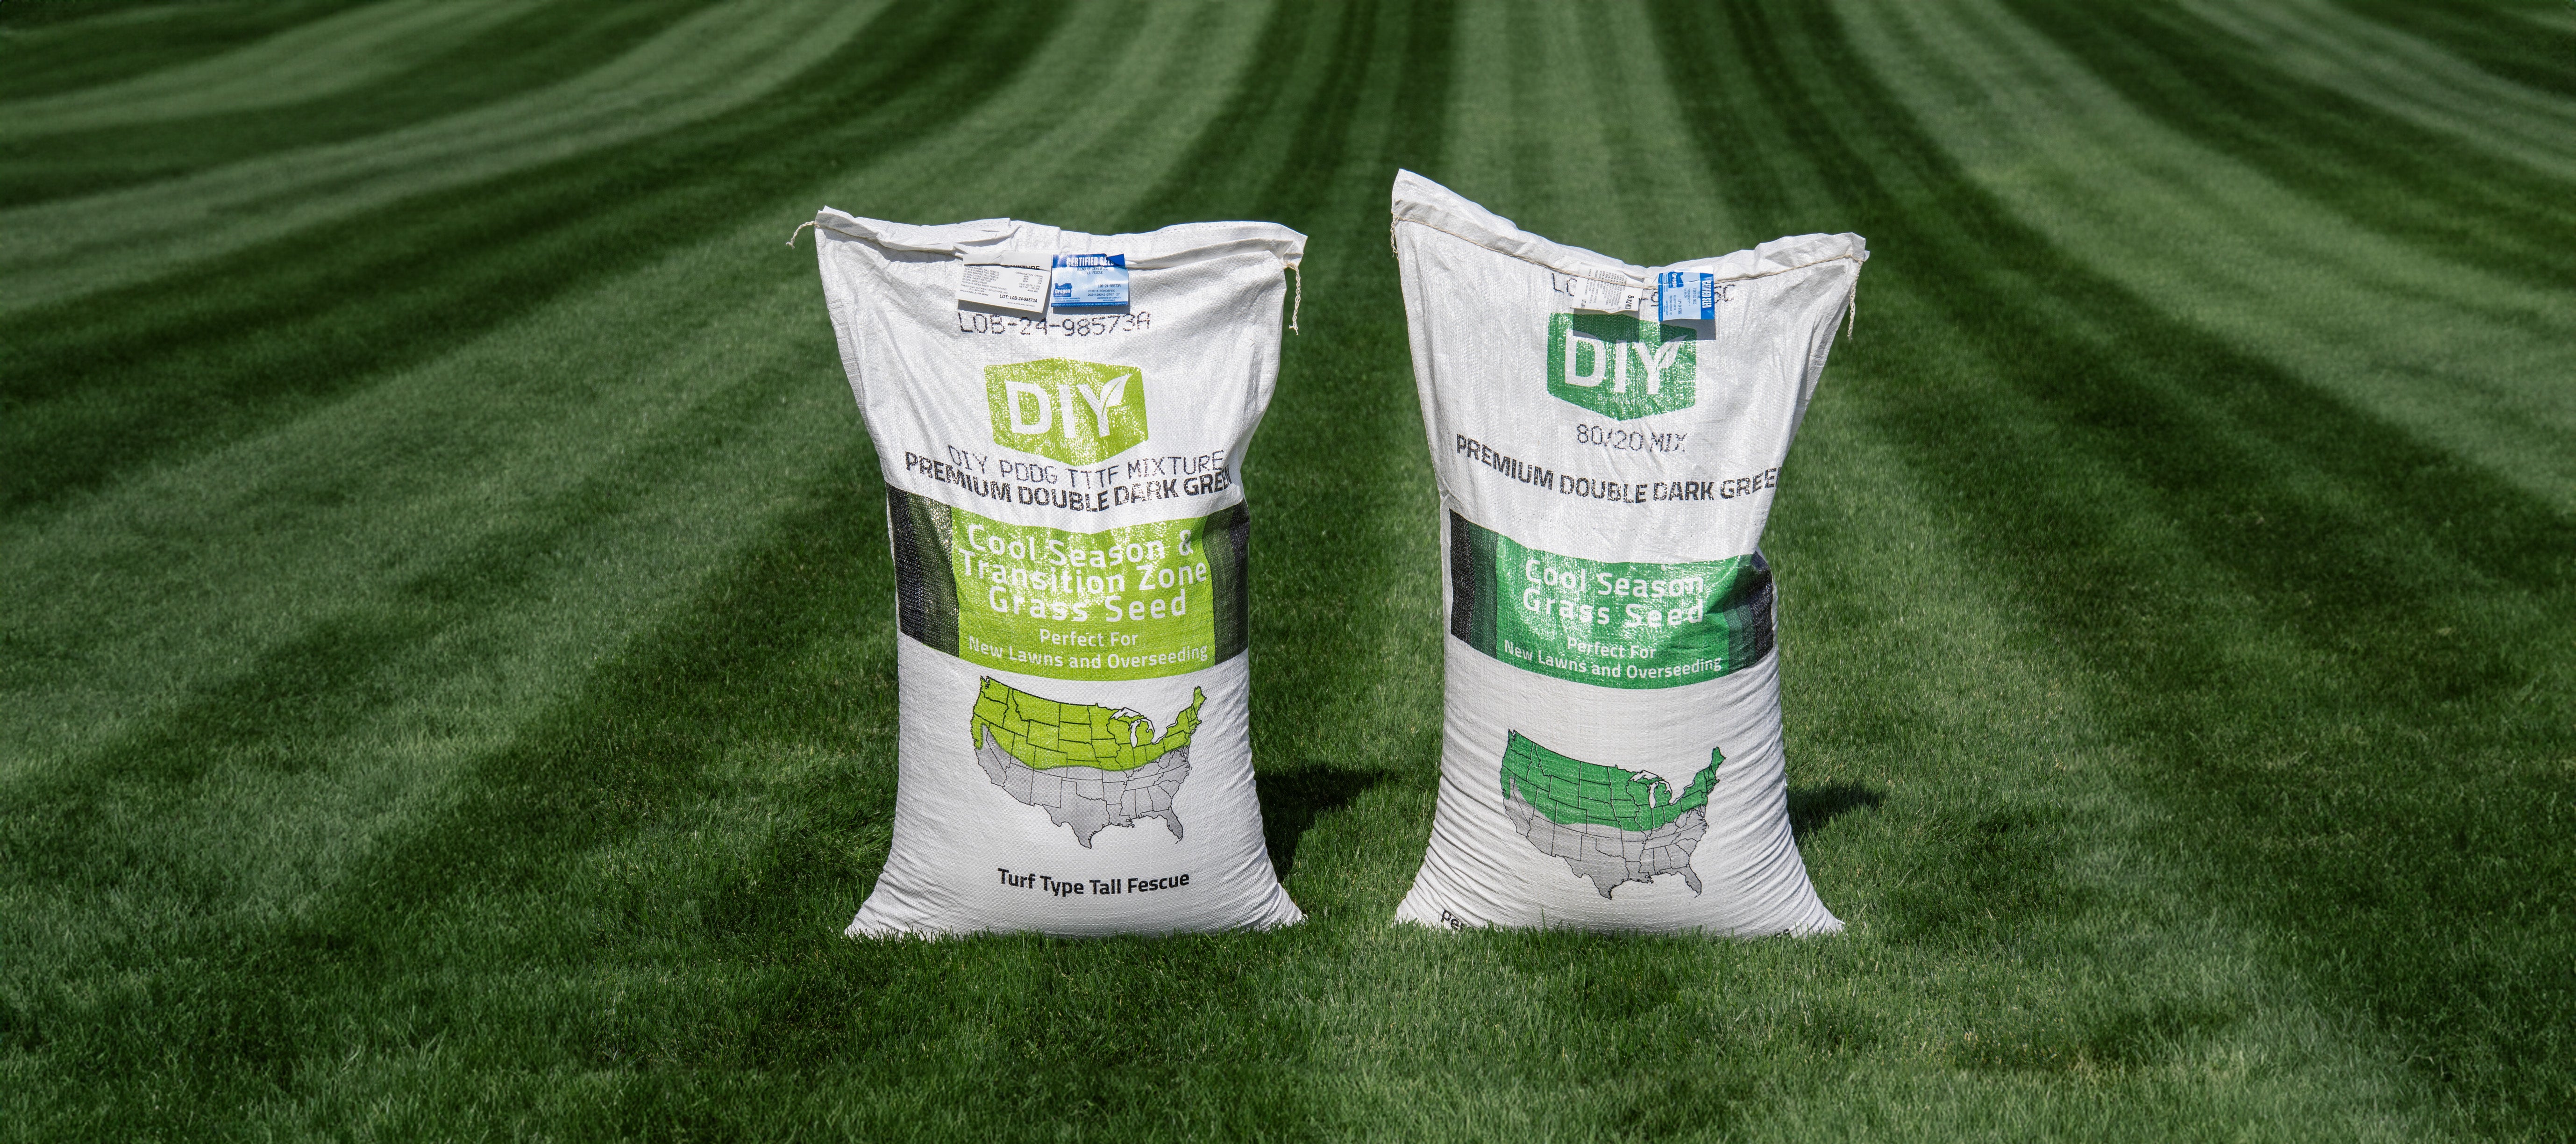
Double Dark Green Premium Grass Seed — Kentucky Bluegrass & Perennial Ryegrass | 0% Weed Seed, Certified Blue Tag
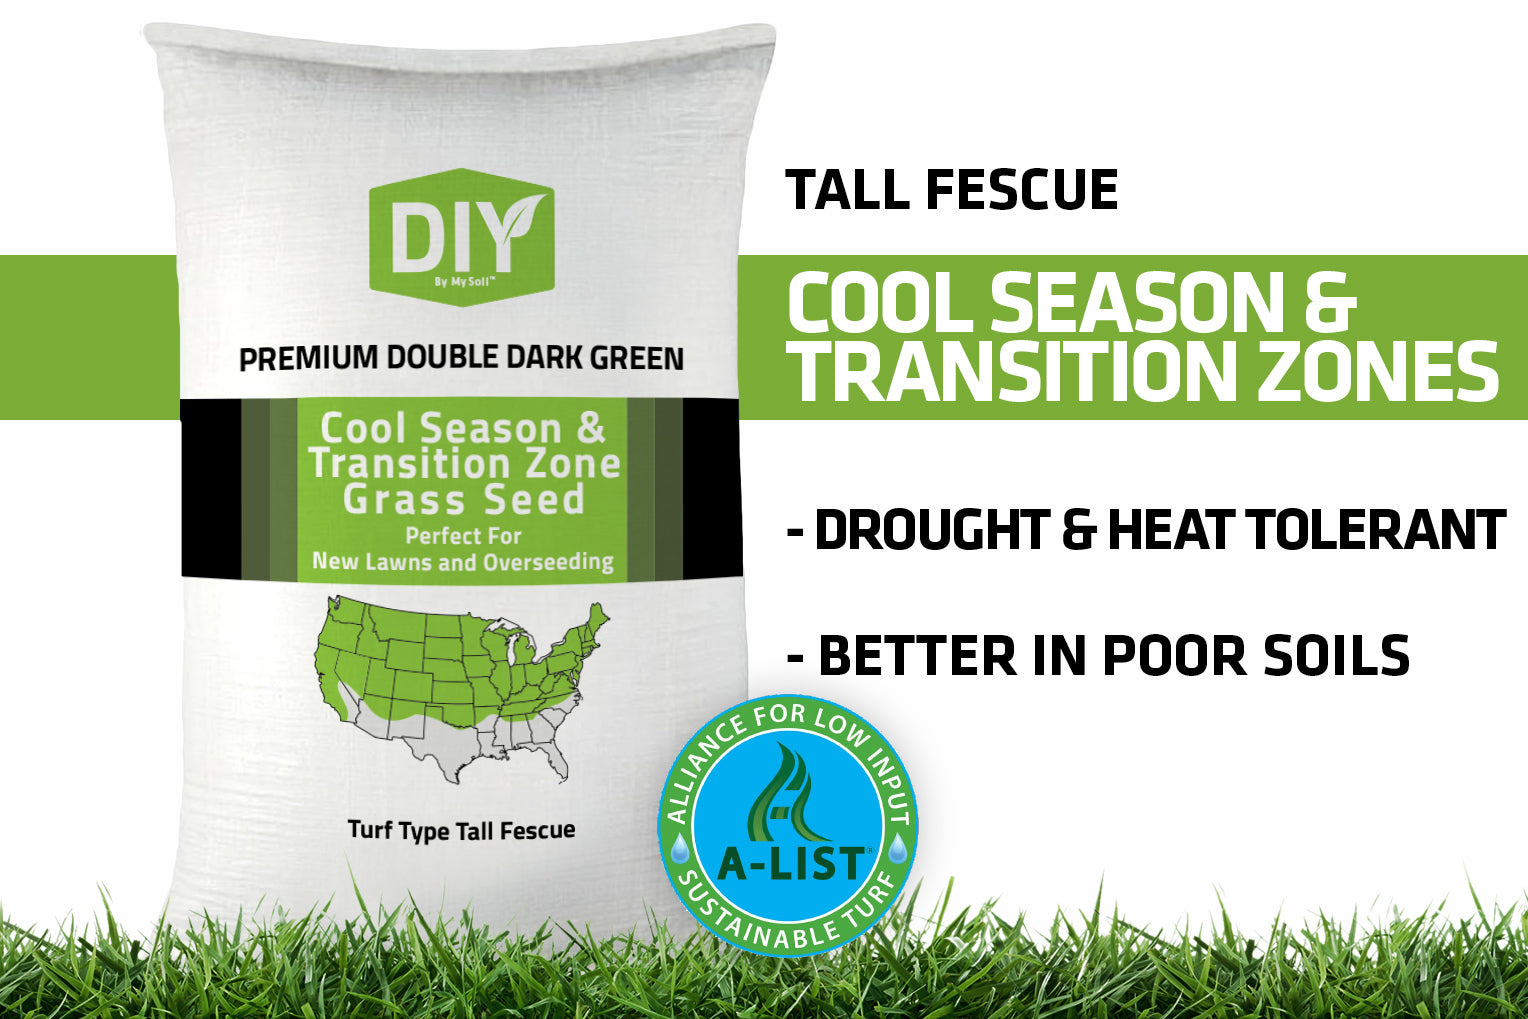

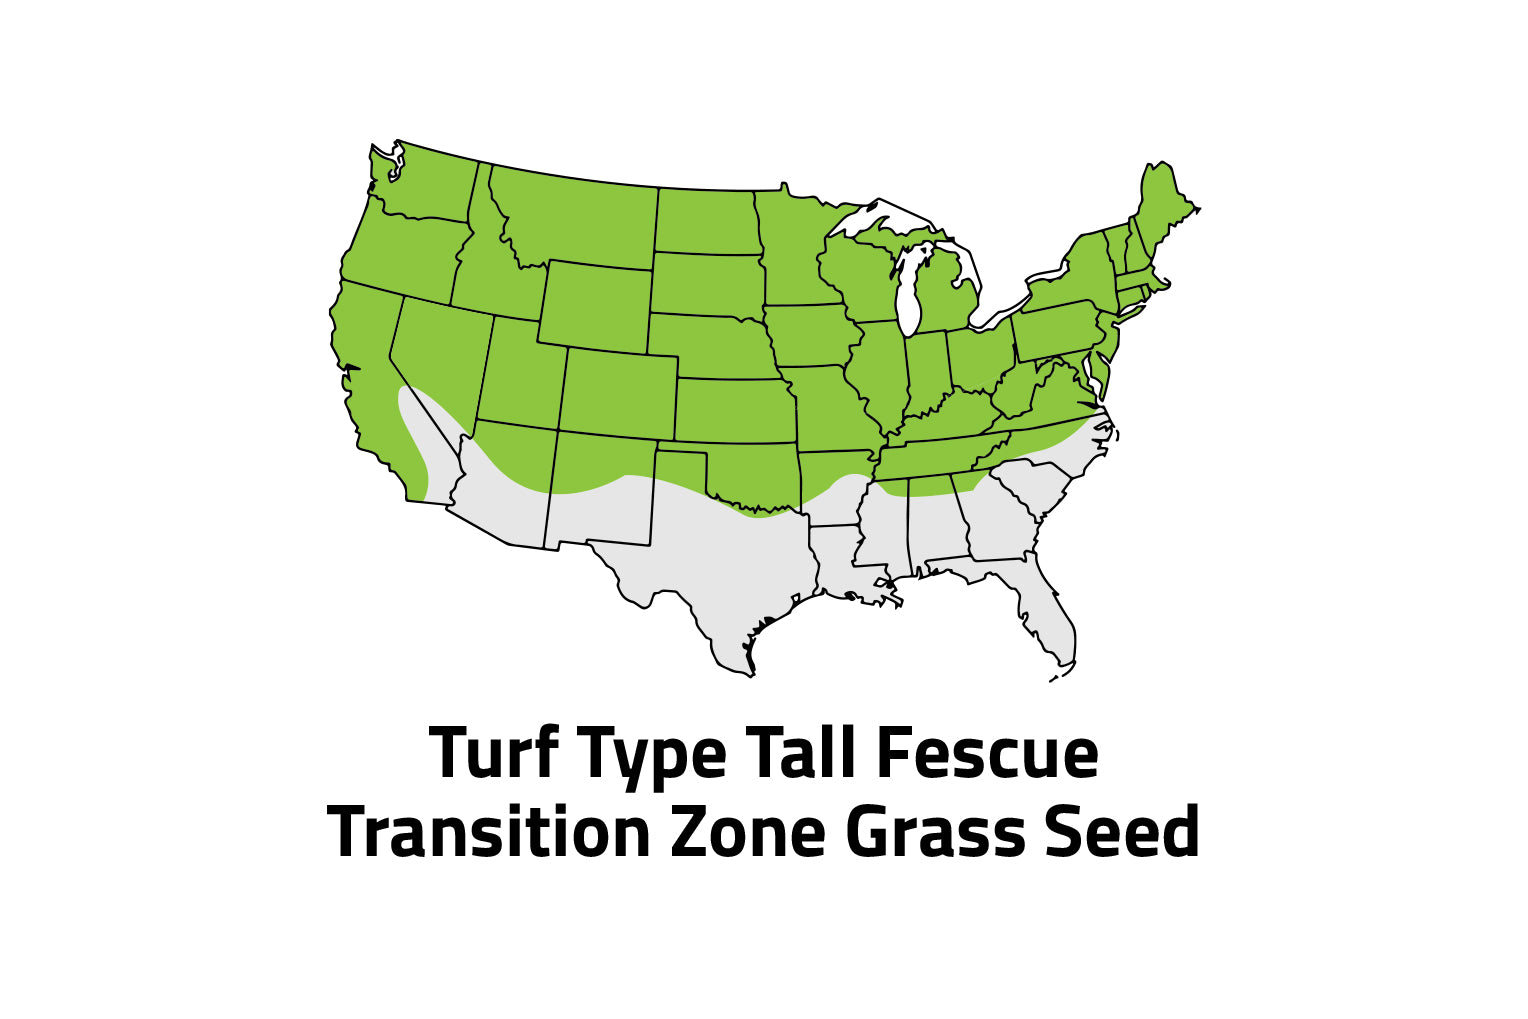


Double Dark Green Premium Turf-Type Tall Fescue Grass Seed | 0% Weed Seed, Certified Blue Tag

How Much Do I Need?
Coverage:
45lb Bag
- New Lawn: 4500-5600 sqft
- Overseeding: 5600-7500sq ft
25lb Bag
- New Lawn: 2500-3100sqft
- Overseeding: 3100-4000sq ft
12lb Bag
- New Lawn: 1200-1500sqft
- Overseeding: 1500-2400sq ft
Seeding A New Lawn
A smooth seedbed free of weeds and other debris will increase the quality of your results!
STEP 1: Remove Any Existing Turf & Weeds
To remove your current lawn & any weeds there are both mechanical & chemical methods that can be used, but usually, a combination of both is best.
CHEMICAL: A non-selective herbicide product can be sprayed to kill all existing grass and weeds. Always follow chemical labels & rates.
MECHANICAL: A sod-cutter can be used to remove existing turf & top portion of the root system. Sod strips can be disposed of. If there is very little turf and weeds a rototiller can be used to disturb the top 3-4” of soil (such as a new construction site).
COMBINATION: Most often a non-selective chemical the spray is used to kill existing plant matter followed by removal with a sod cutter or by rototilling in the dead plant material. If the material remaining after chemical kill is dense and multiple inches thick it may be best to remove with a sod cutter, followed by a shallow rototilling of 3-4” deep.
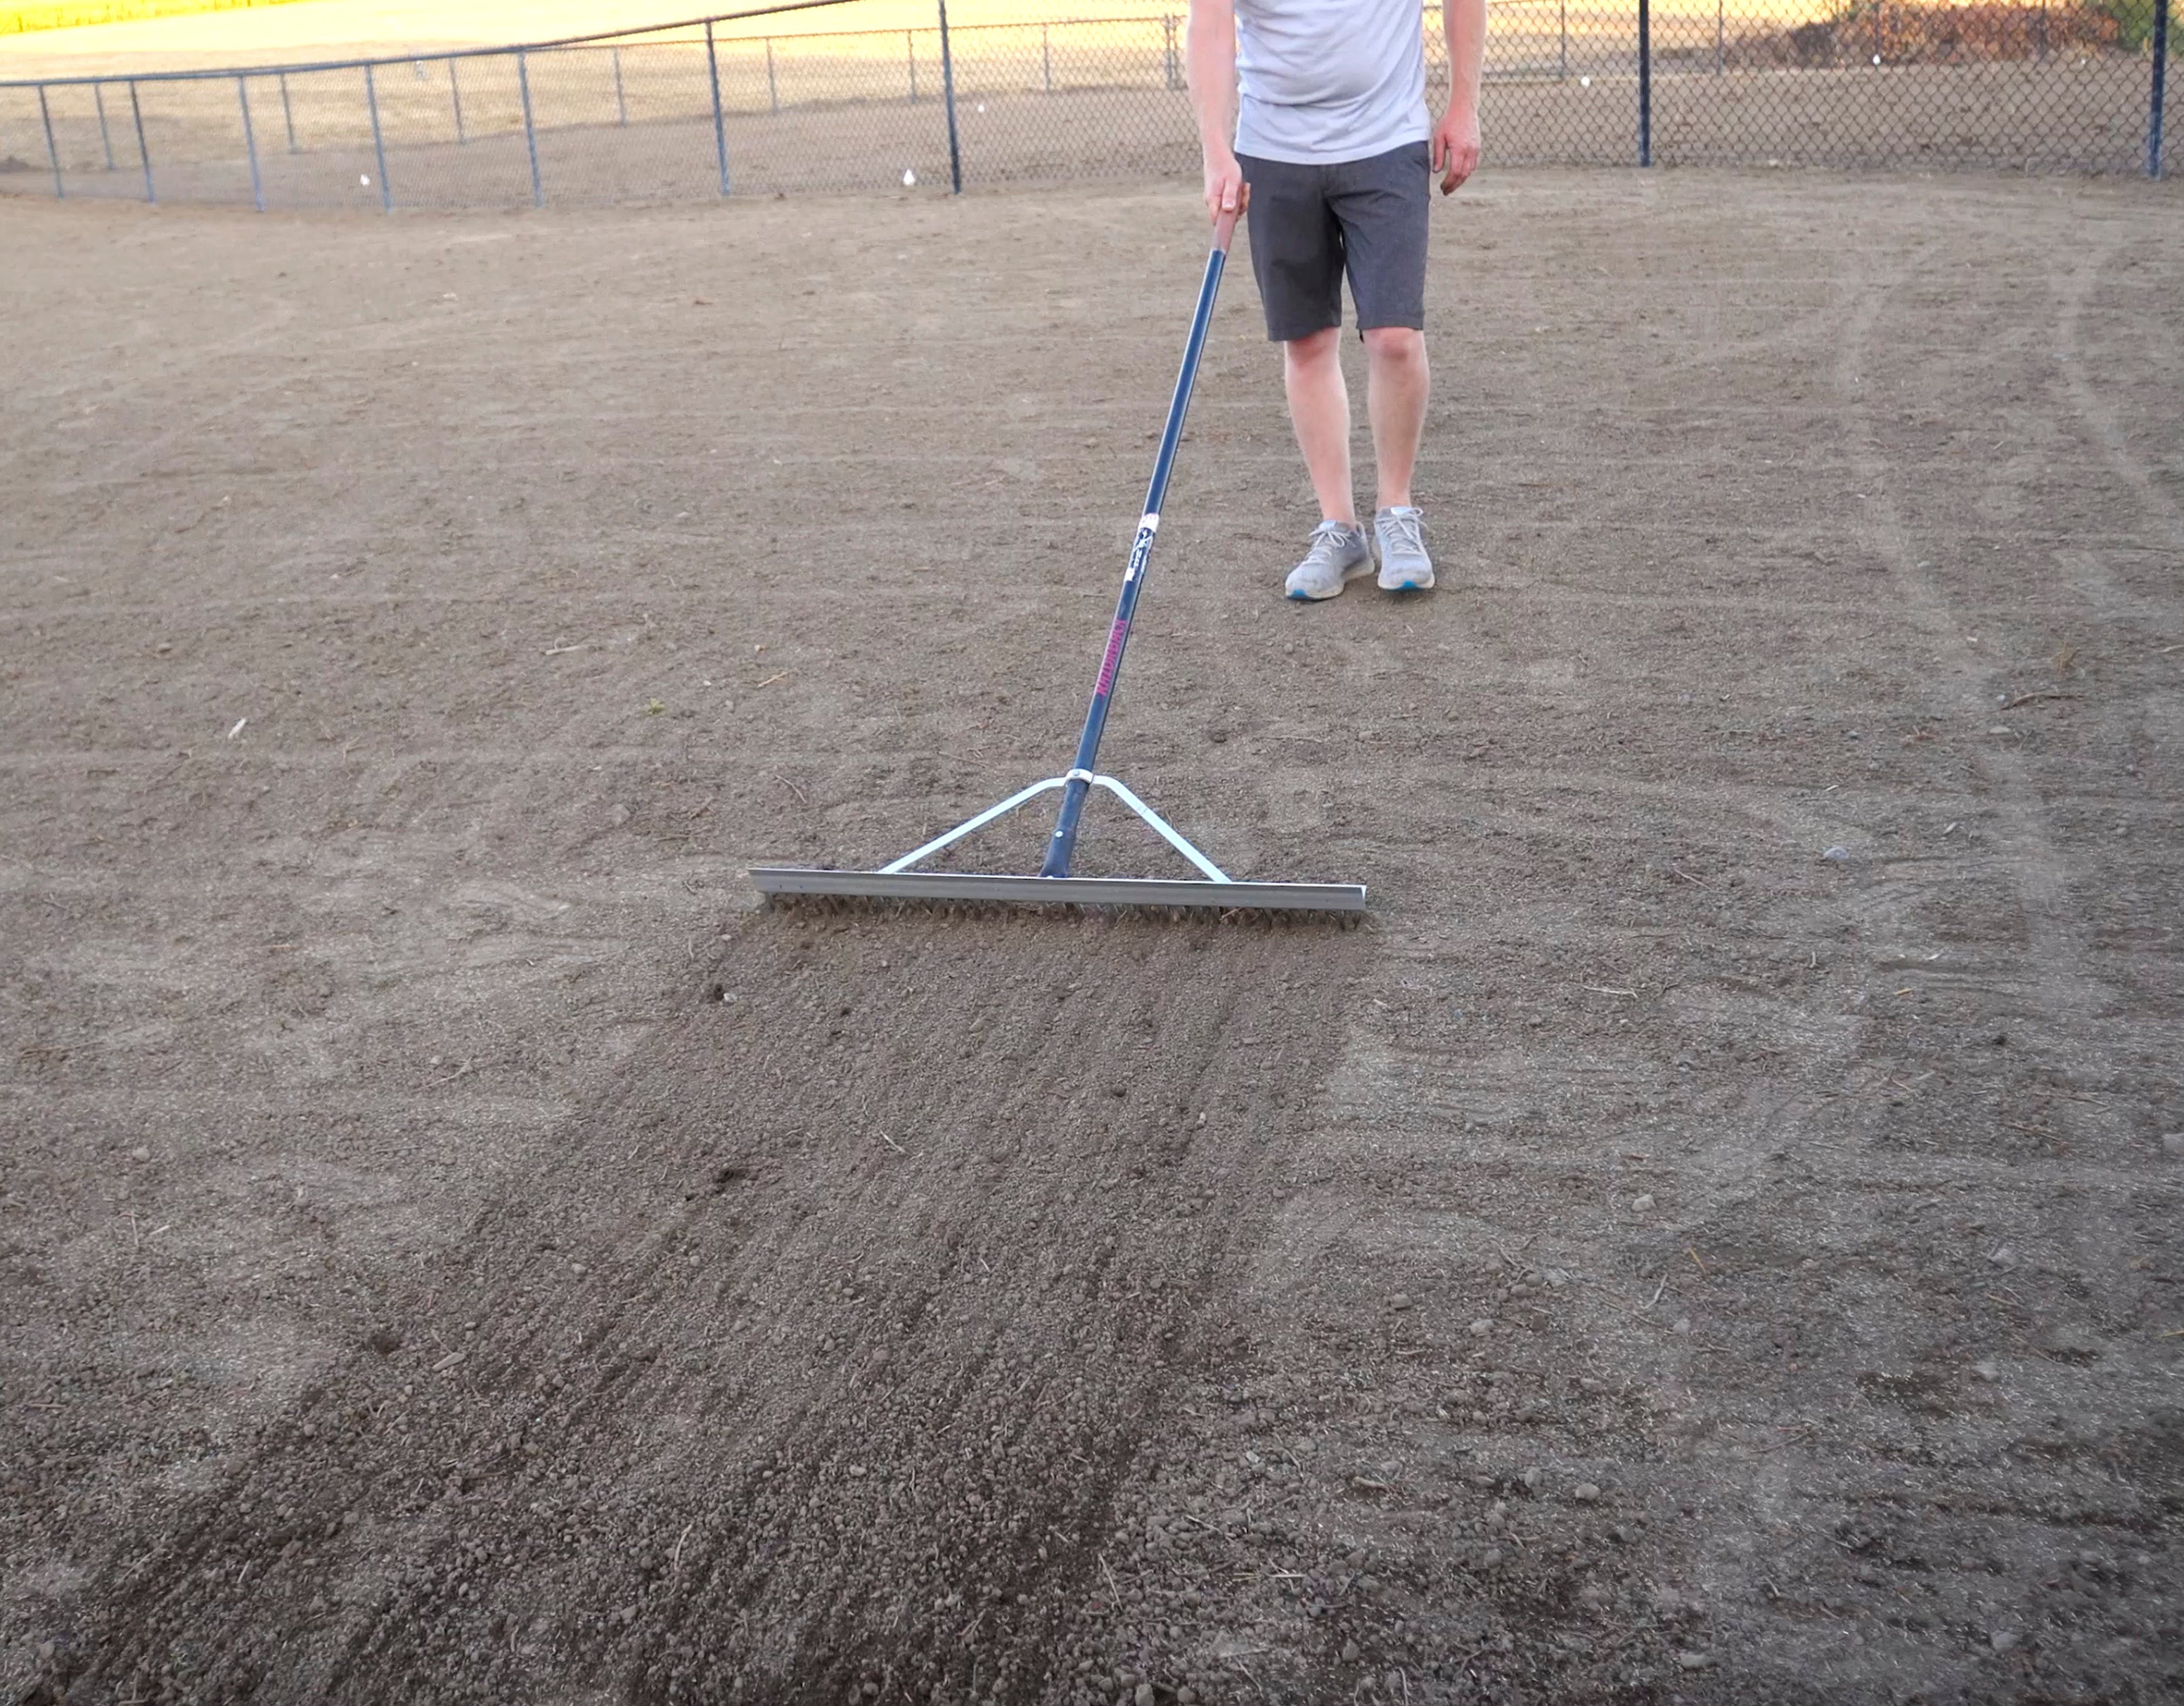
STEP 2: Leveling the Surface
It is important to level the soil to provide a smooth uniform surface for even germination & ease of future maintenance activities.
- Level the surface by filling in low spots using a drag, light harrow or large landscape rake.
- If the soil is very “fluffy” or loose, water the soil a bit to help compact the surface. A roller may also help. (When walking on the soil your shoes should not leave more than a 1” deep depression if possible)
- If underground irrigation is present or planned, level all heads even with the prepared soil surface.
STEP 3: Amend The Soil
Proper fertility and pH will ensure your new lawn grows-in quickly & evenly with great color & density!
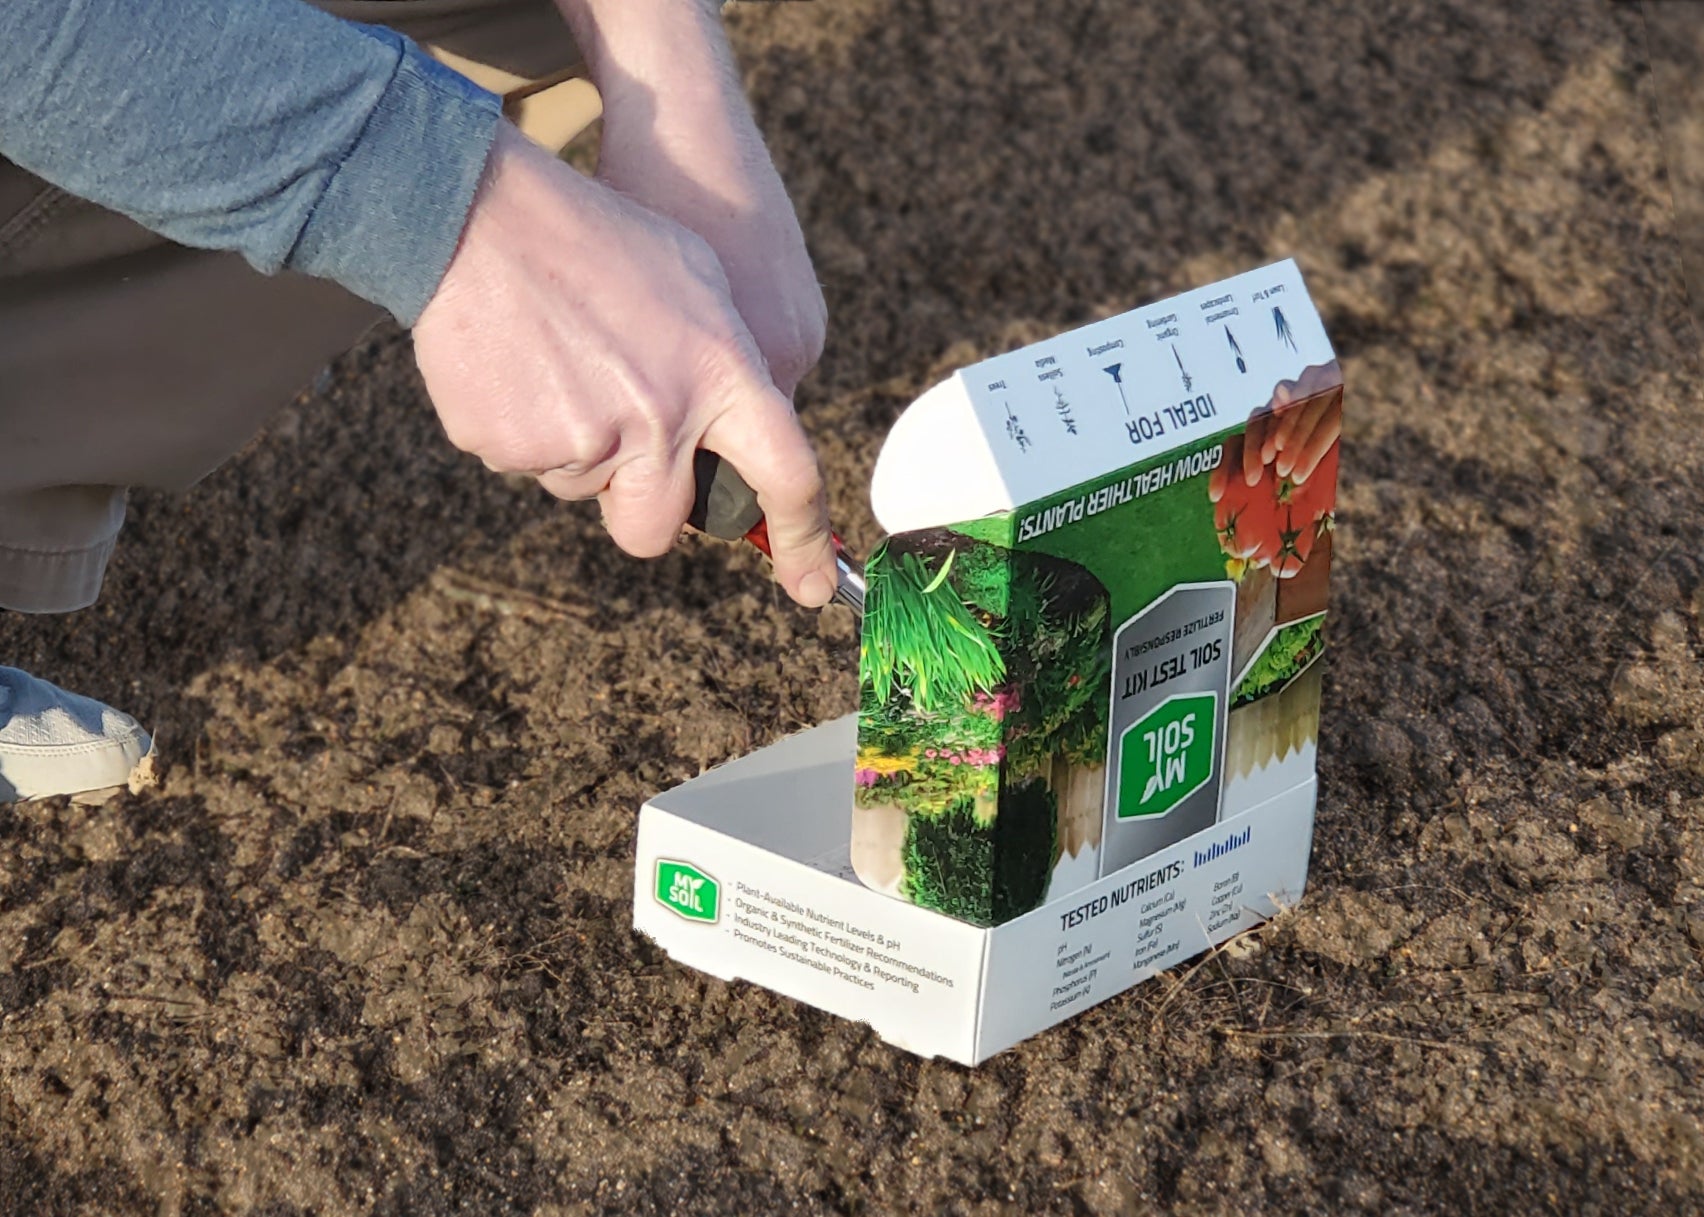
- Purchase a MySoil Test Kit to provide exact fertilizer & soil pH recommendations prior to seeding.
- After properly applying amendments to your soil, lightly incorporate by dragging a metal spring leaf-rake over the surface with some pressure, followed by an irrigation cycle.
- Do not apply Weed n Feed type products containing herbicides prior to planting.
STEP 4: Seeding
This is the moment you have been waiting for, but the preparation to this point was critical to a successful end-product!
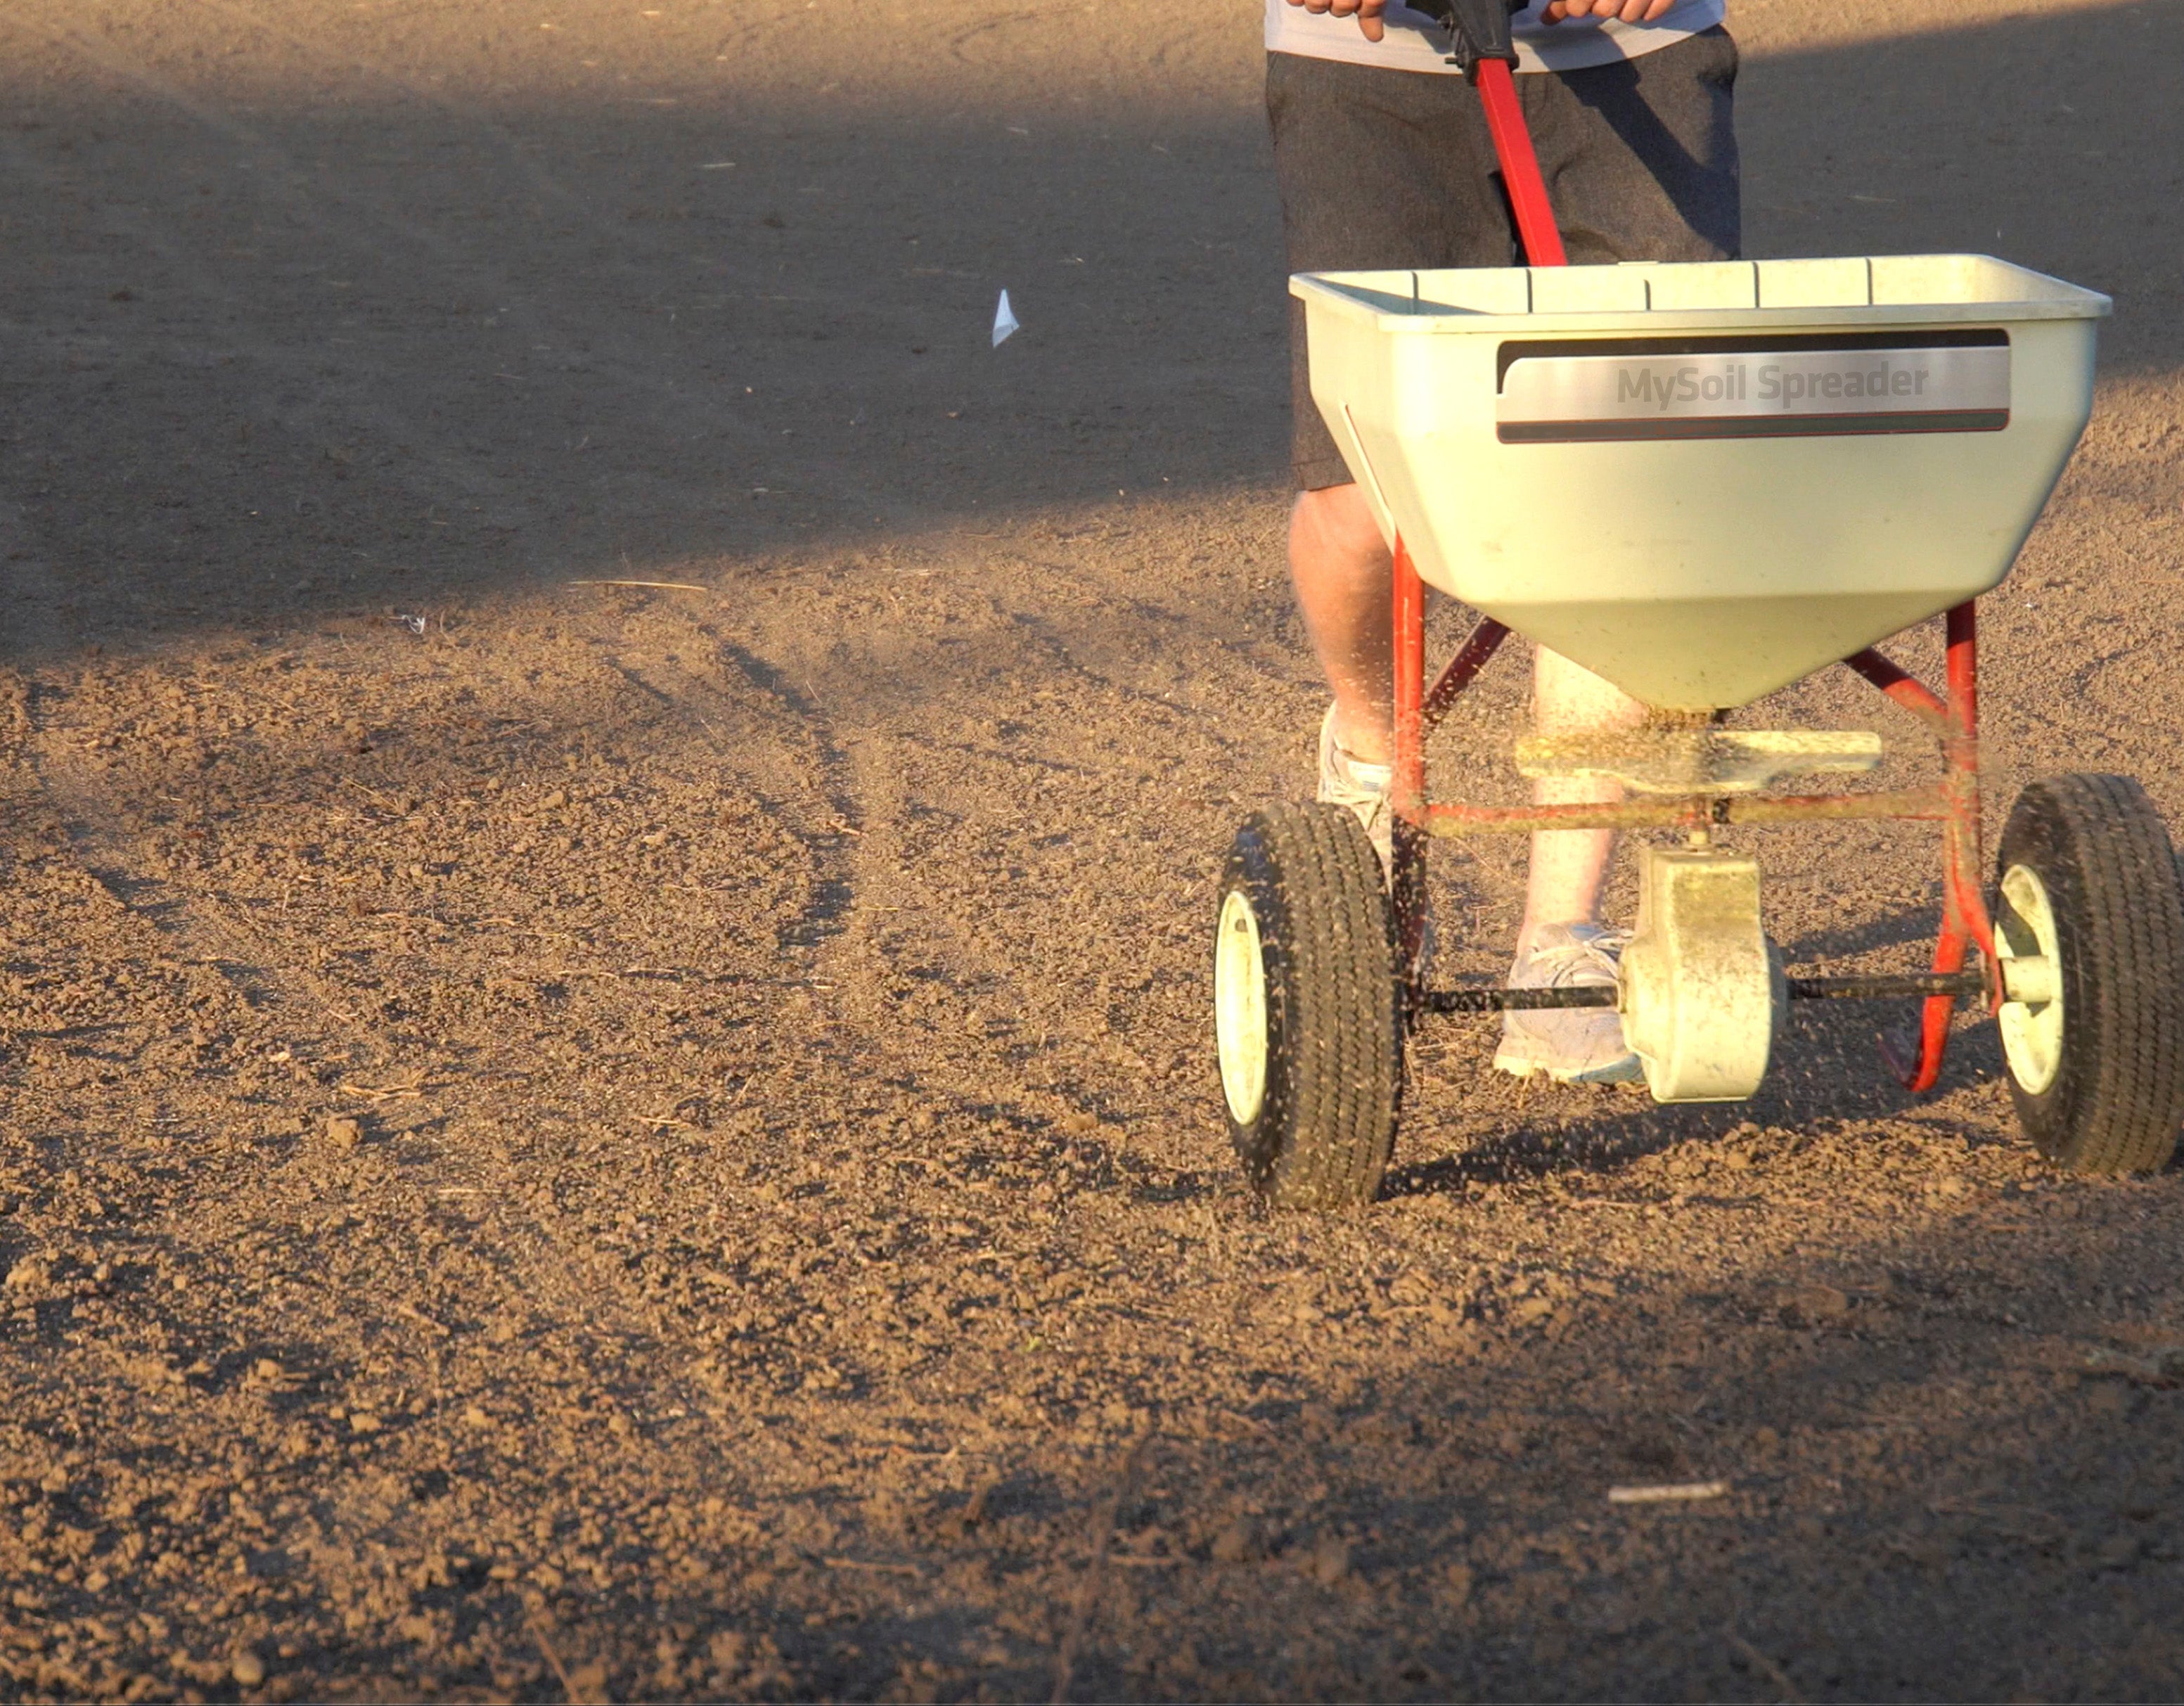
- Using a rotary or drop spreader, apply the seed in two directions. Each direction should deliver half the total rate.
- A total rate of 8-10 lbs/1000 sq. ft. (4-5 lbs per direction) is recommended.
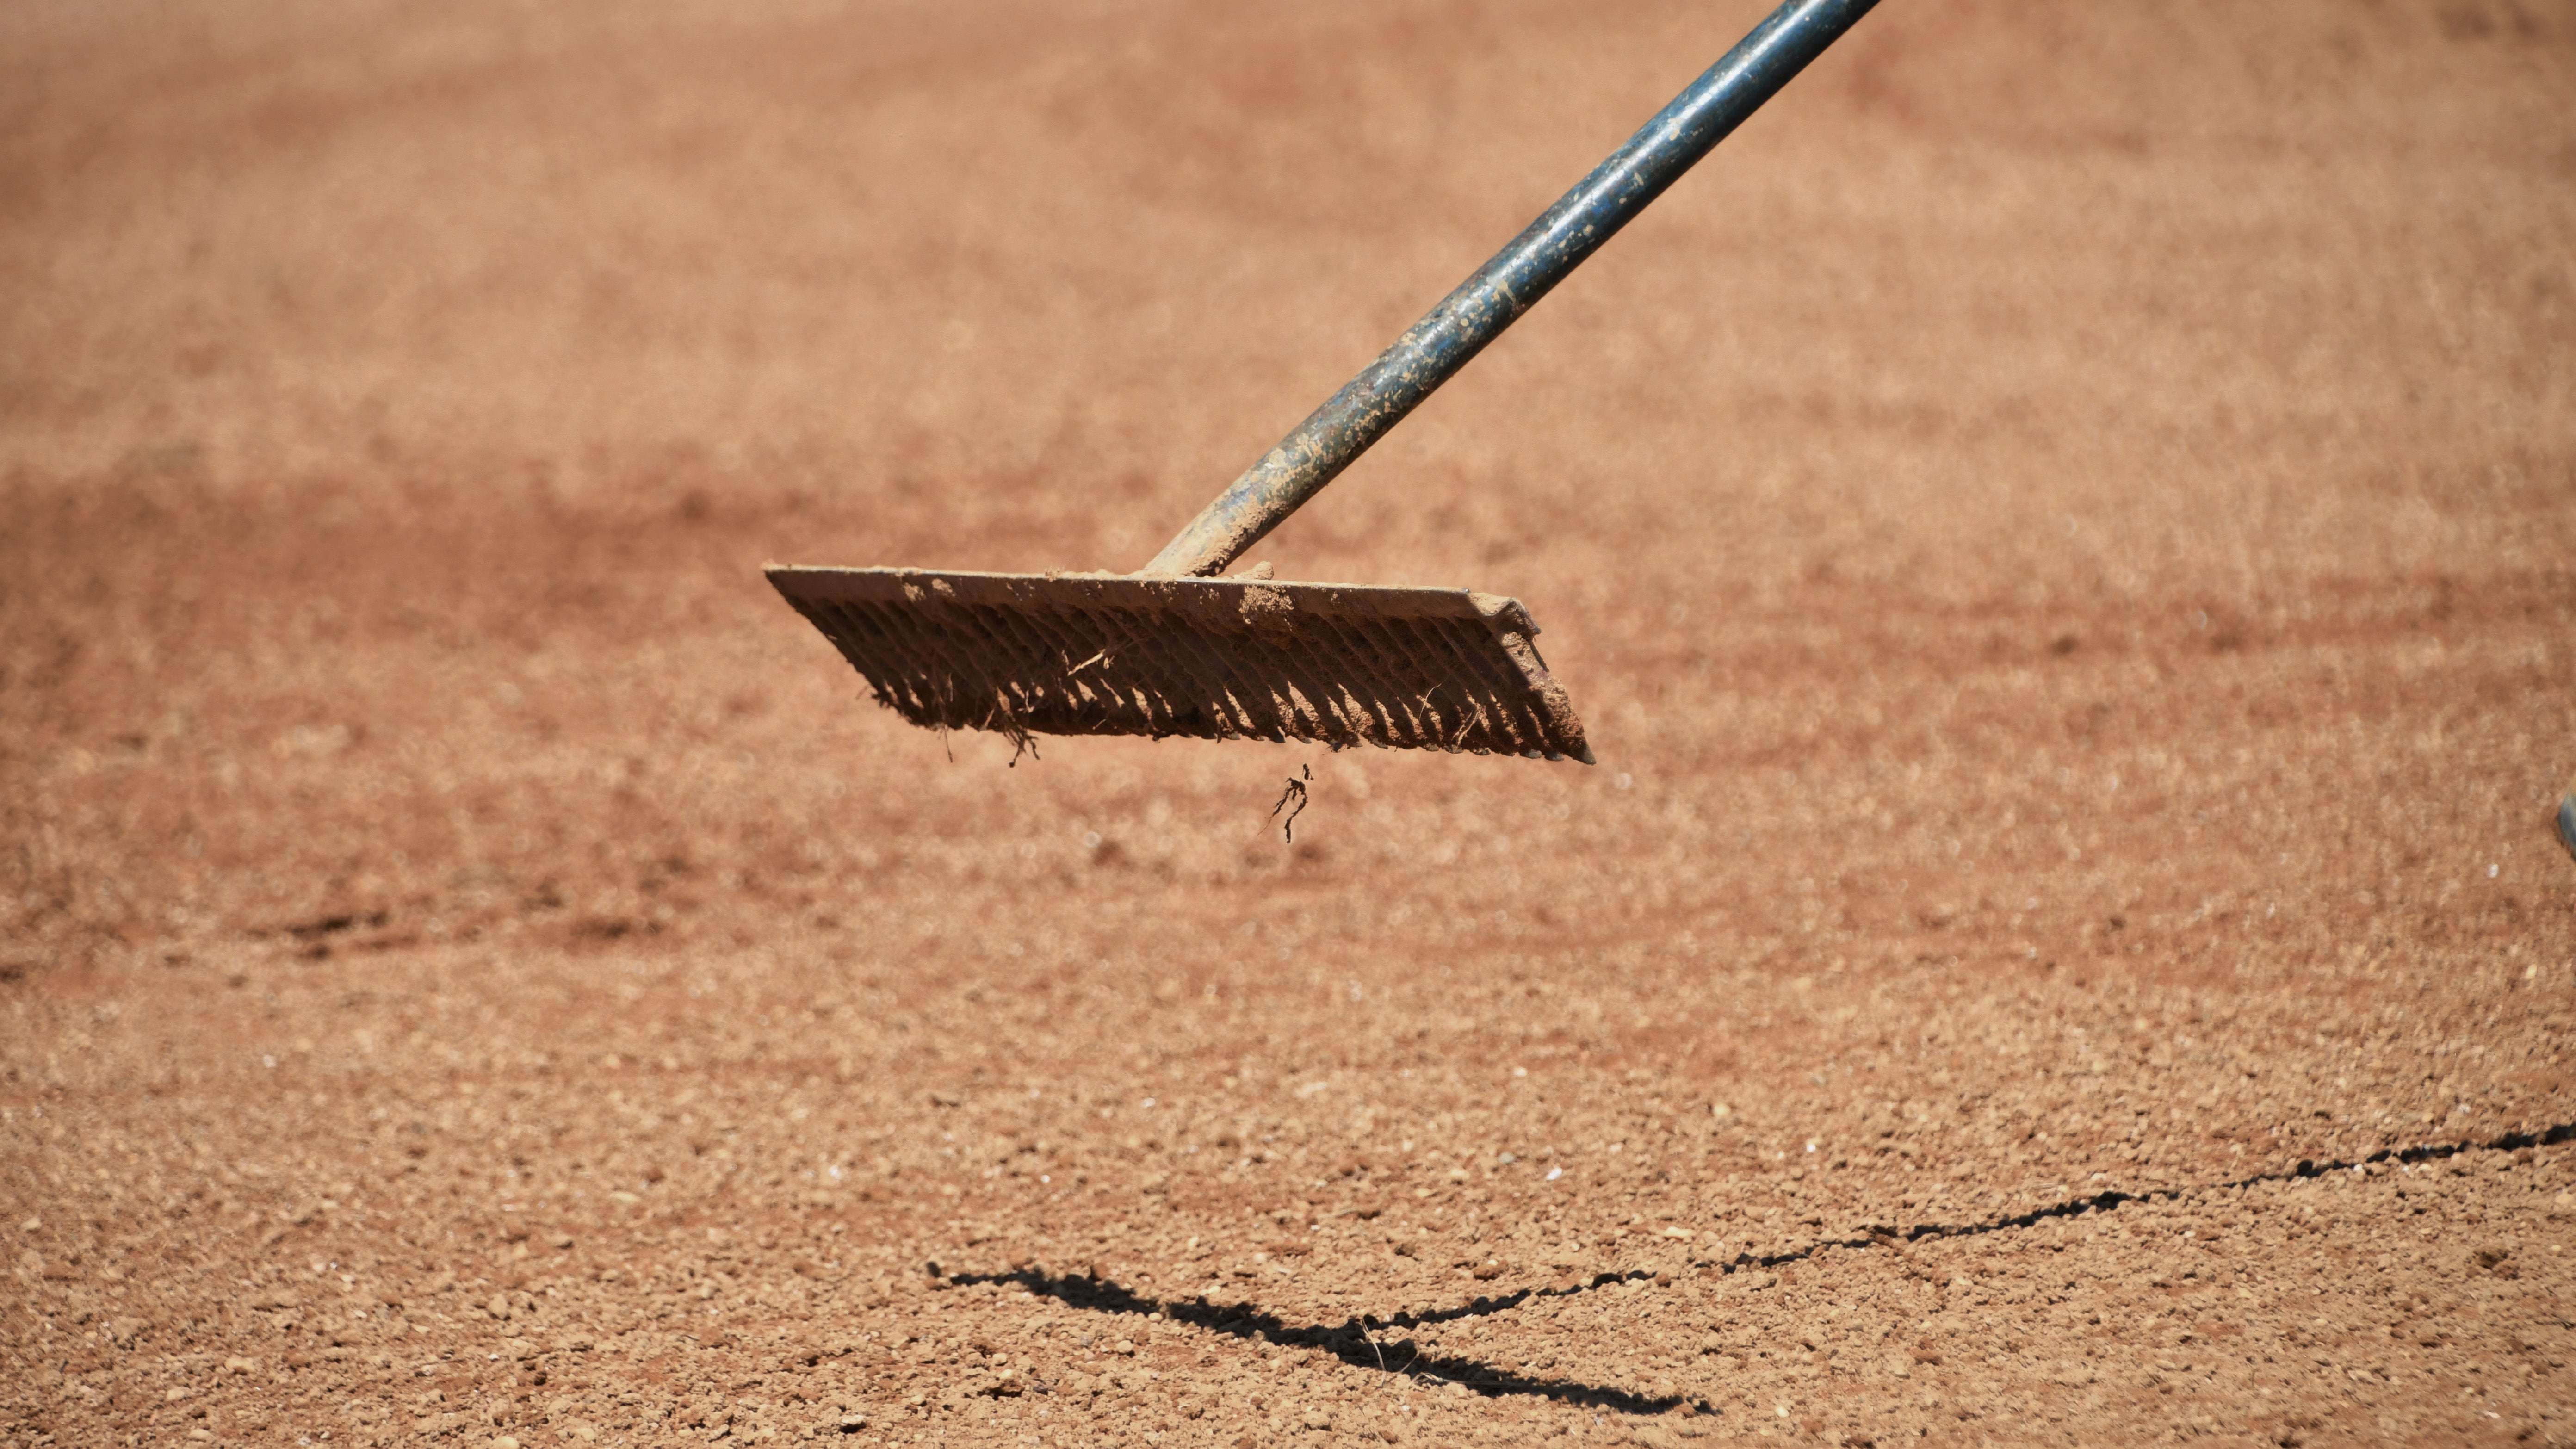
- Once the seed is spread, lightly rake across the surface to incorporate the seed.
- Irrigate once seeded and avoid puddling, which can move the seed.
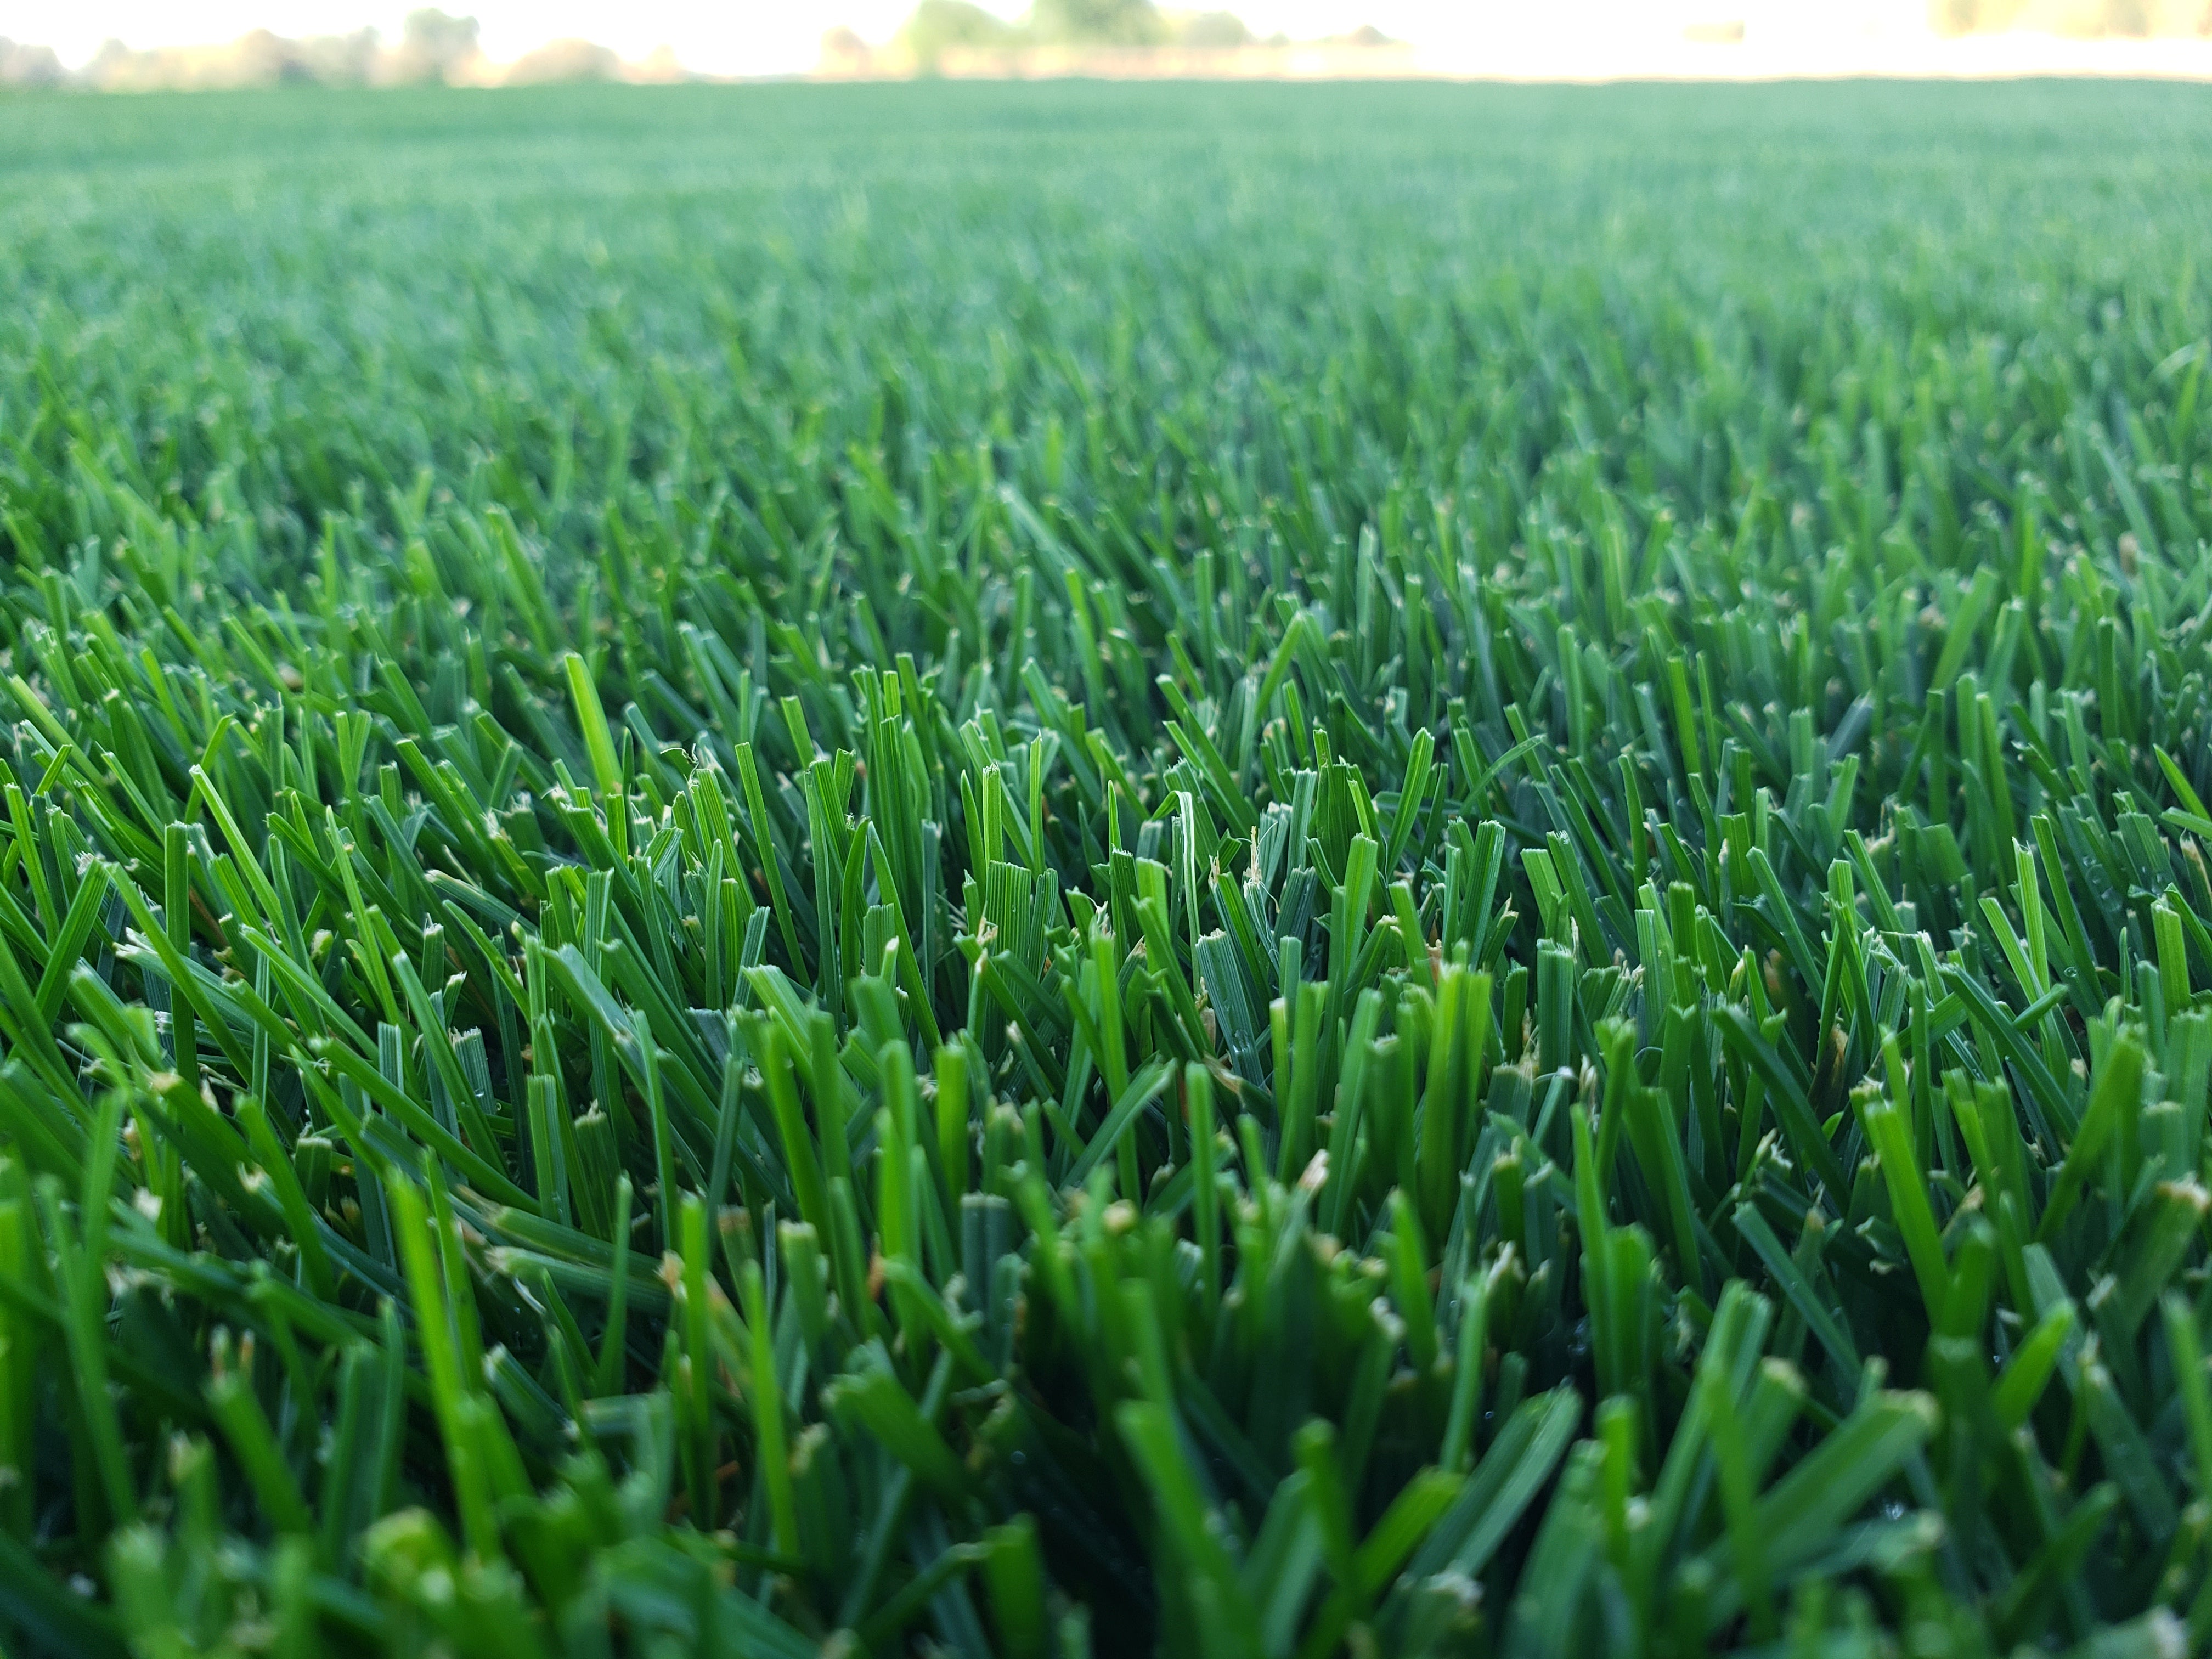
Incorporate Seeds Into Soil
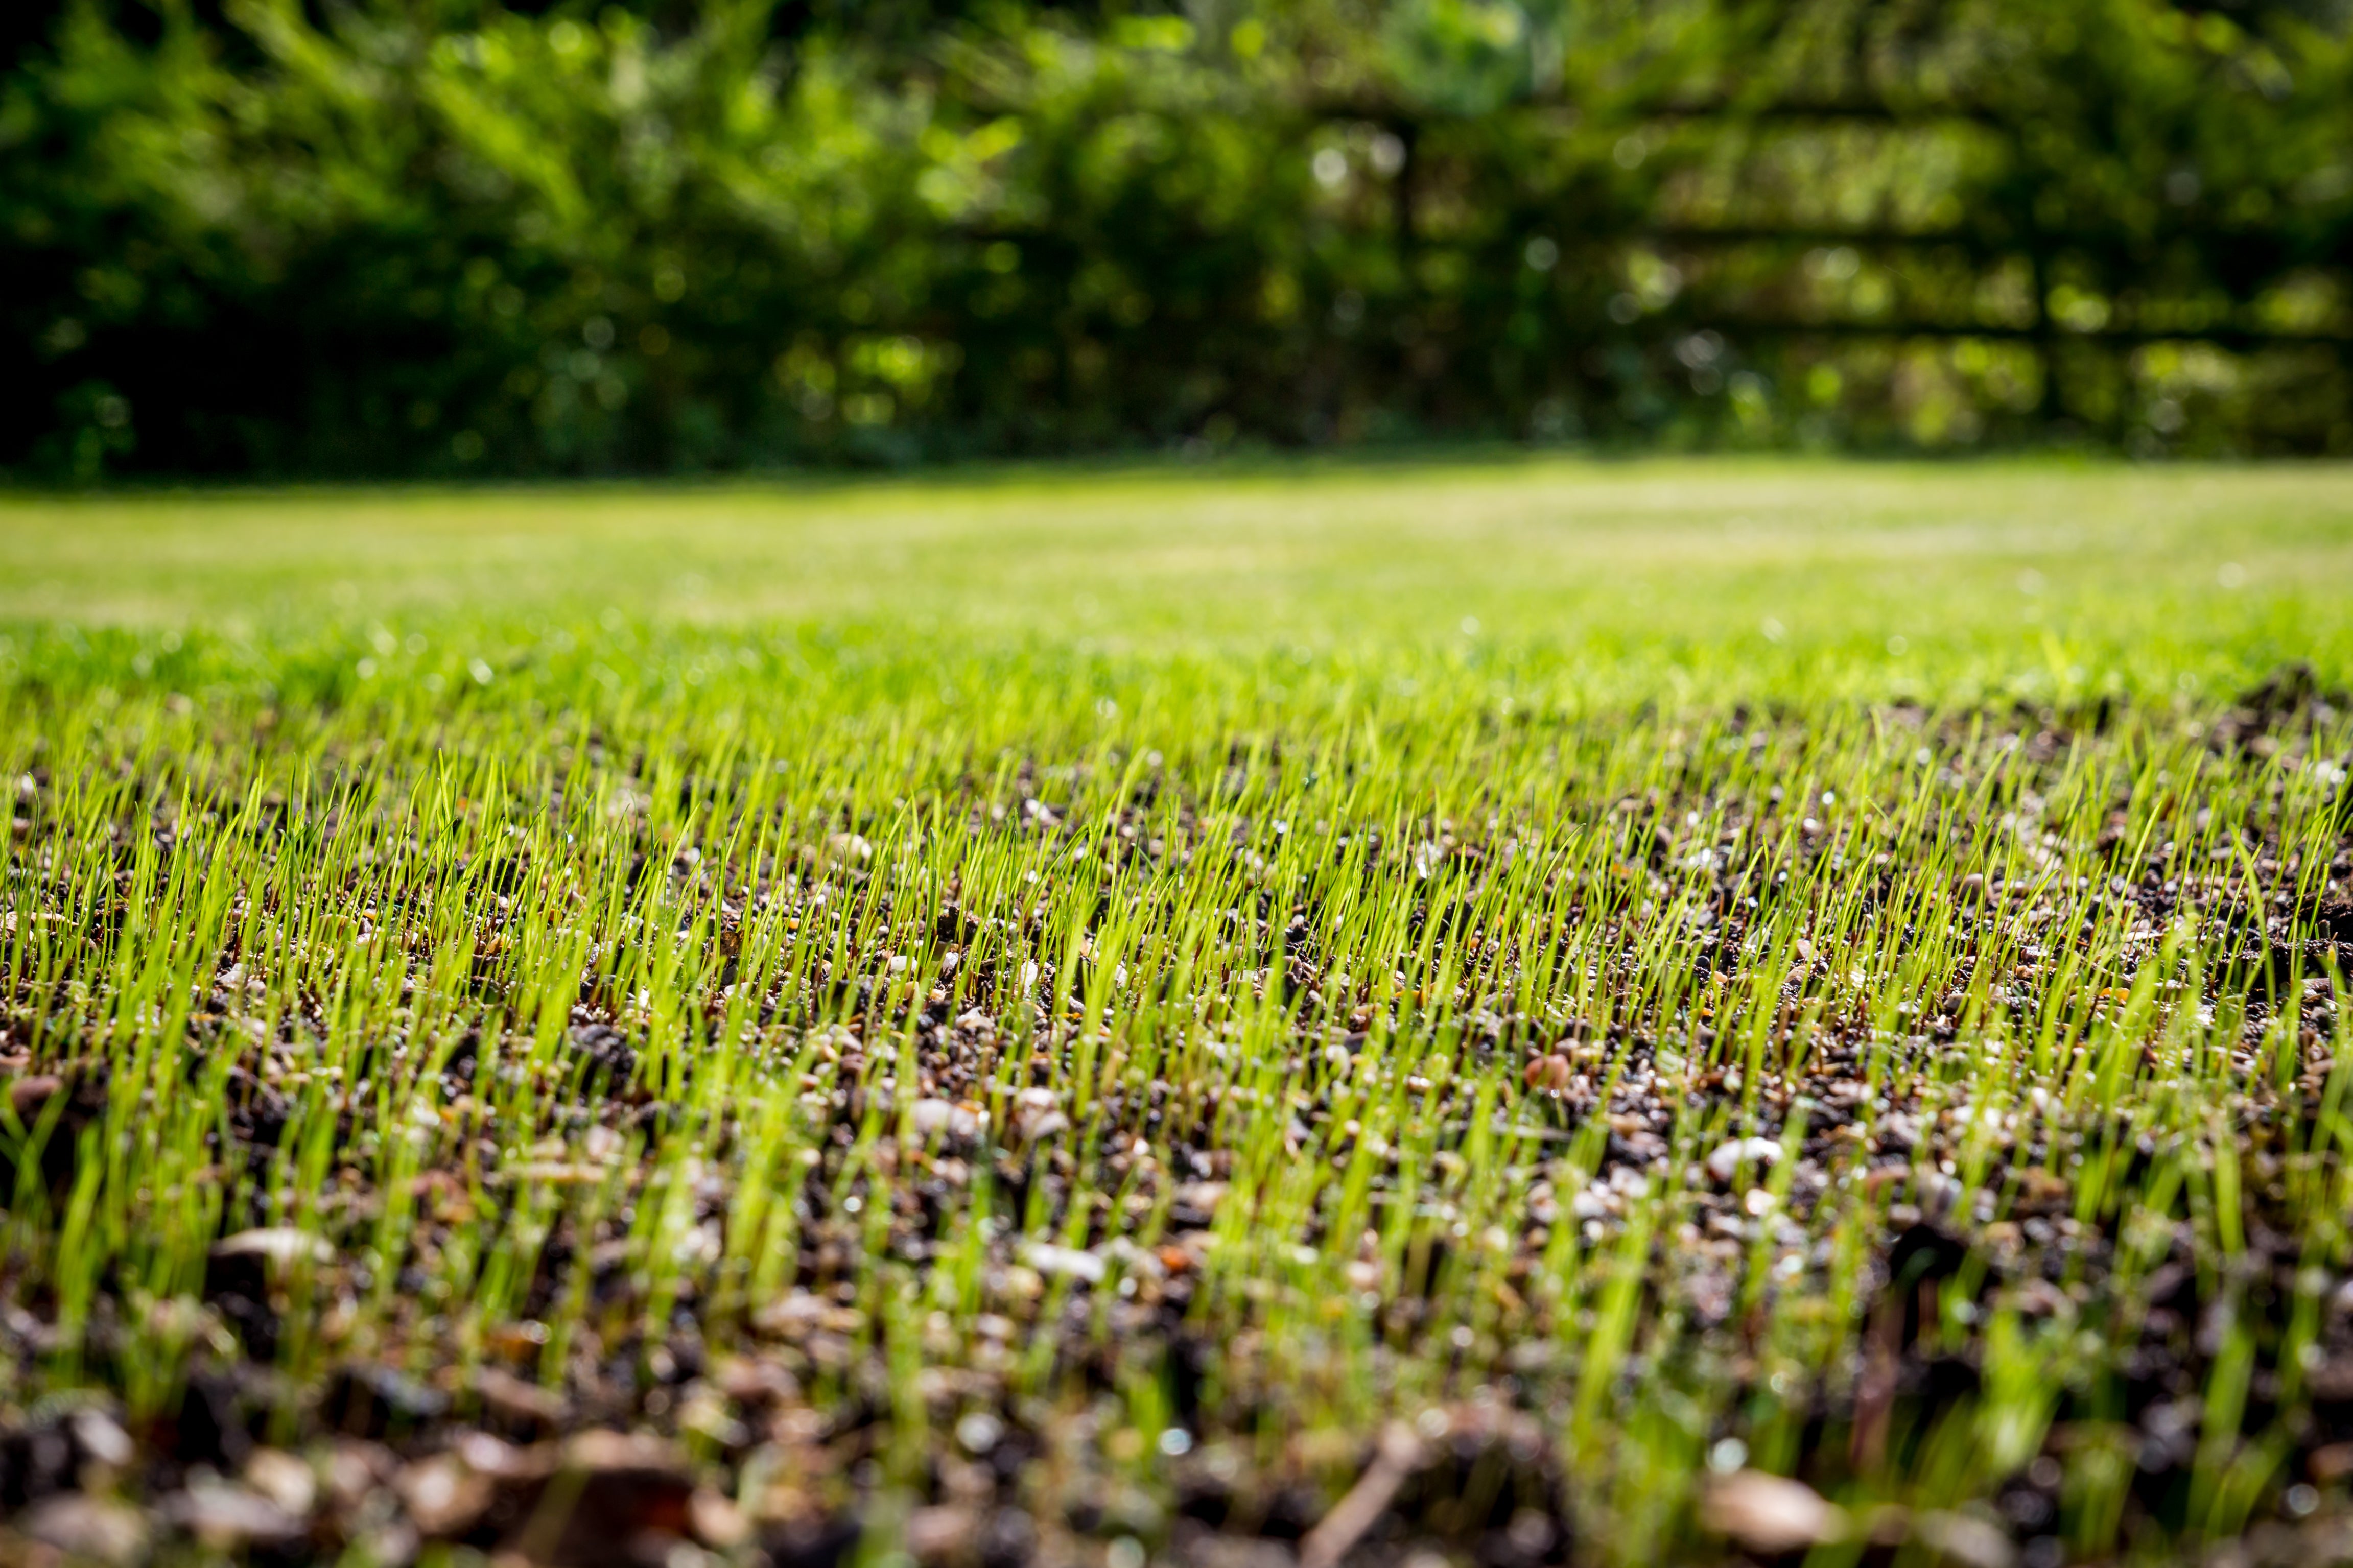
Germination Process
Seeds remain moist for germination
Overseeding An Existing Lawn
Add new life to your lawn by blending-in some of the finest cool-season grass seed varieties on the market today!
STEP 1: Amend The Soil
- You will want to let your nitrogen levels drop slightly prior to overseeding your lawn. This allows the new seed to germinate and grow without being “out-competed” for sunlight, water & nutrients by the existing turf stand.
- Use a MySoil Test Kit to guide fertility & pH adjustments prior to overseeding. (More nitrogen will be applied about 7-10 days after seeding to promote new seedling growth)
STEP 2: Reduce Existing Turf & Expose Some Soil
- Scalp your lawn down by mowing at 2” or less if possible and remove clippings. This will expose more soil for the seed to contact. More dense lawns may require thatching in multiple directions with debris removal to expose the soil surface. Aggressive thatching can also leave small slices in the soil for the seed to fall into.
- For best results, once turf is thinned, an aerifier can be used to make holes no more ½” deep, so that some seed can fall-in.
STEP 3: Seeding
- This is the moment you have been waiting for, but the preparation to this point was critical to a successful end-product!
- Using a rotary or drop spreader, apply the seed in two directions. Each direction should deliver half the total rate. A total rate of 5-8 lbs/1000 sq. ft. (2.5-4 lbs per direction) is recommended. (Spreaders are often ¾ to all the way open to deliver these rates)Irrigate after seeding to help the seed establish contact with the soil.
Continued Maintinence
- Irrigate 2-3 times per day for 5-15 minutes each time. (Keep the seed and soil moist at all times for the best germination. Do not allow water to puddle for newly seeded lawns.)
- The Ryegrass will germinate first, followed by the Bluegrass in another week or so.
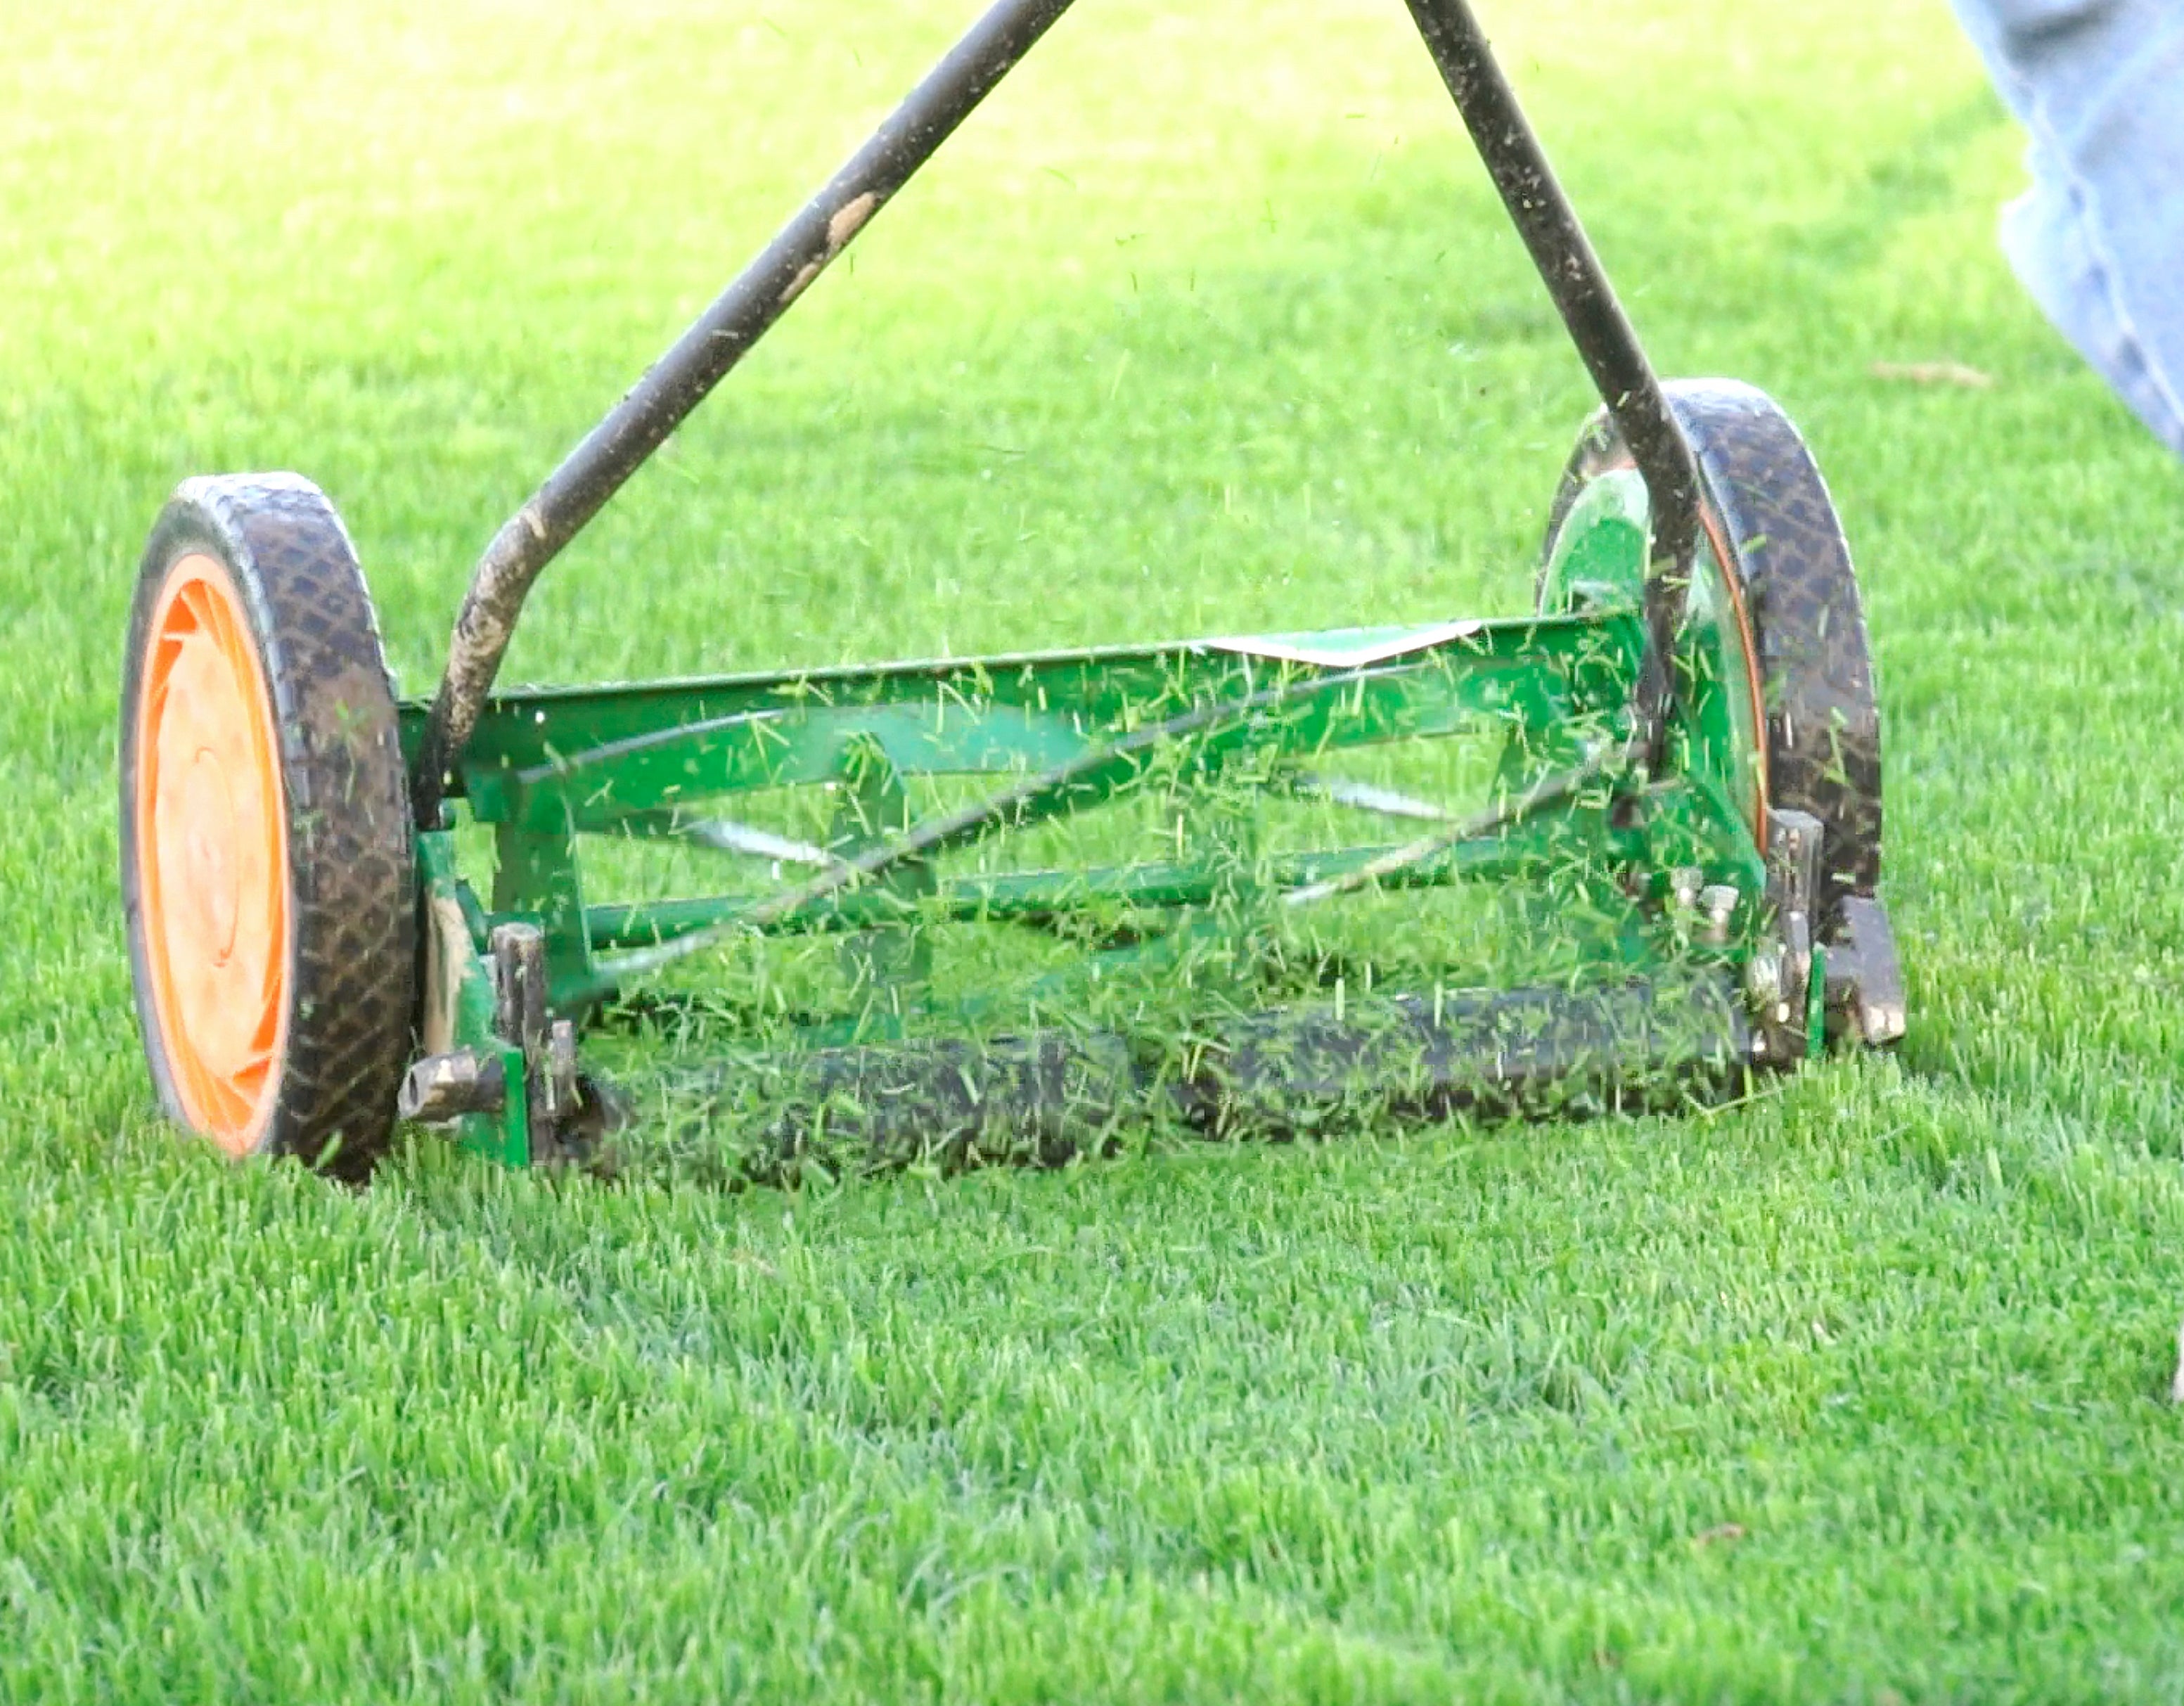
- Your first mow can occur with a light push mower when the grass reaches about 3.5-4” tall.
- Look to fertilize again after your first mowing following your MySoil Test recommendations. Do not apply Weed n Feed type products containing herbicides 3-4 weeks prior to and after seeding.
- If possible, wait 10-14 days to begin regular mowing practices.
